Quick Wins for Your Cabin
- Deep Cleaning: Start with a pH-neutral cleaner to remove grime without stripping old dyes.
- Conditioning: Use a high-quality leather conditioner to stop further cracking.
- Patching: Small tears in vinyl can often be fixed with a heat-set color match kit.
- Dusting: Use compressed air to clear out the crevices of a vintage dash before applying any chemicals.
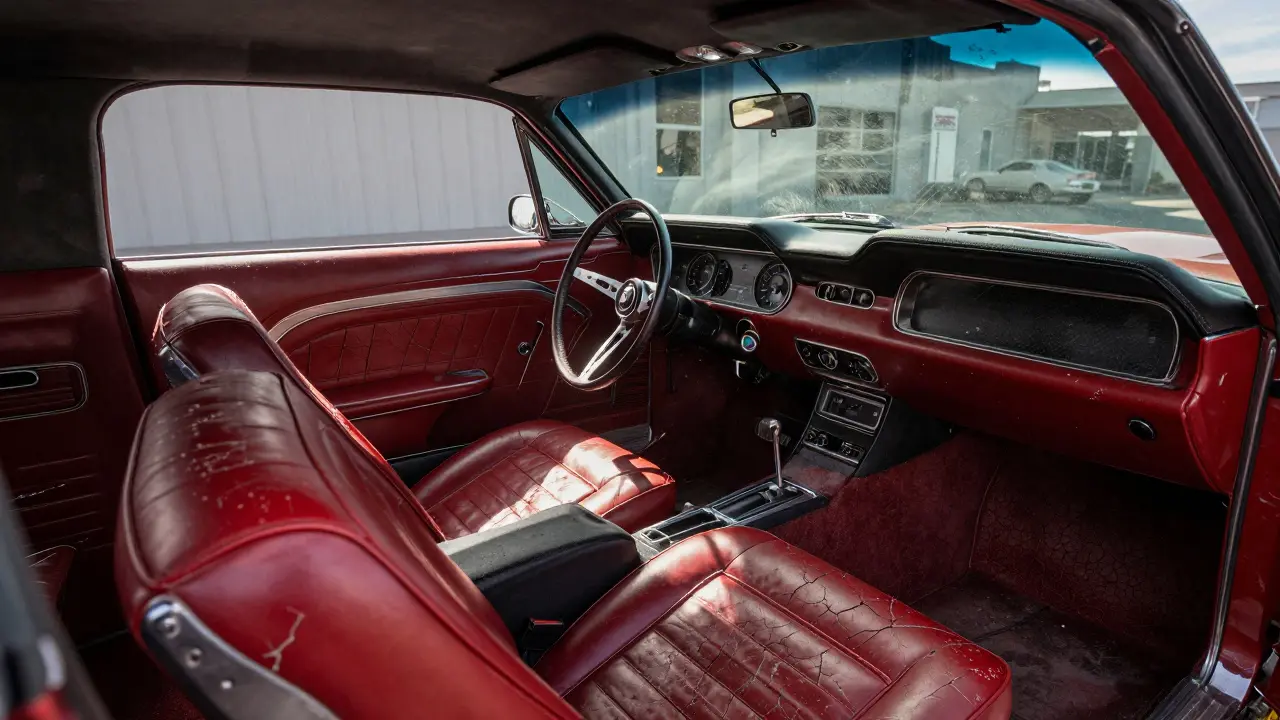
Bringing Seats Back to Life
When you look at your seats, you're dealing with three main layers: the frame, the foam, and the cover. Most people jump straight to the cover, but if the Foam Rubber is crumbling into a fine brown powder, no matter how pretty the new vinyl is, the seat will feel like a bag of walnuts. You need to address the structural support first.
For those dealing with interior restoration, the goal is usually to preserve as much original material as possible. If the leather is just faded, a specialized leather dye can bring back that deep factory hue. However, if you have "cigarette burns" or deep rips, you'll need a sub-patch. You slide a piece of reinforced fabric under the tear, glue it down, and then fill the gap with a flexible vinyl filler. The trick here is to match the grain of the leather; you can actually do this by lightly pressing a piece of textured foil into the wet filler before it cures.
If you're replacing the covers entirely, don't just buy the cheapest kit online. Look for "OEM-spec" materials. This ensures the thickness and weight match the original design, meaning the seats won't wrinkle or sag after a few months of driving. If you're sewing them yourself, a heavy-duty walking foot sewing machine is a must; a standard home machine will struggle to pierce through heavy-duty automotive vinyl.
Taming the Cracked Dashboard
The dashboard is often the most fragile part of a classic car because it sits directly under the windshield, baking in the sun for years. When Polyvinyl Chloride (PVC), the primary material in many vintage dashes, loses its plasticizers, it shrinks and cracks. This is a chemical failure, not just a cosmetic one.
If you have minor surface cracks, avoid using silicone-based "protectants" that leave a greasy shine. These can actually trap heat and accelerate the degradation of the plastic. Instead, use a dedicated dash repair compound. You clean the crack, fill it with a flexible resin, and sand it smooth. For larger splits, some restorers use a "dash cap," which is a pre-molded cover that fits perfectly over the original. It's a faster, cheaper way to get a factory-fresh look without the risk of ruining the original metal substrate underneath.
| Method | Cost | Durability | Best For |
|---|---|---|---|
| Vinyl Patch Kits | Low | Medium | Small tears and punctures |
| Full Re-upholstery | High | Very High | Total foam collapse/shredded fabric |
| Dash Covers/Caps | Medium | High | Deep structural dashboard cracks |
| Leather Dyeing | Low | Medium | Fading and surface discoloration |

The Art of the Headliner
There is nothing more depressing than a headliner that's sagging and touching the back of your head while you drive. Most classic cars used a cardboard or thin plastic backing with a fabric face glued on. Over time, the glue fails. The mistake most people make is trying to glue the fabric back up while it's still in the car. This always results in bubbles and creases.
The only way to do this right is to take the headliner board completely out. Scrape off the old, crusty adhesive using a heat gun and a plastic scraper. Once the surface is clean, apply a high-temp spray adhesive-something that won't melt when the car sits in a parking lot in July. Stretch the fabric from the center outward, securing it tightly to the edges. If you're upgrading, consider a synthetic suede; it's more durable than the original cloth and does a better job of absorbing sound, making the cabin feel more modern and quiet.
Dealing with Carpeting and Floor Pans
Before you lay down new carpets, you have to deal with the "hidden" problem: rust. If you put brand new Loop Pile Carpet over a rusted-out floor pan, you're just hiding a disaster that will eventually eat through the fabric. Check the footwells for soft spots. If you find rust, grind it out and weld in a patch panel first.
Once the metal is solid, apply a layer of sound-deadening material. Products like butyl rubber sheets are fantastic for this. They stop the "tinny" vibration you get in old cars and keep the interior warmer in winter. When installing the carpet, don't just throw it in. Use a steamer to loosen the fibers and mold the carpet into the contours of the floor. This prevents those ugly ripples that happen when the carpet doesn't quite fit the curves of the chassis.
Common Pitfalls and Pro Tips
One of the biggest mistakes is over-cleaning. Using a harsh degreaser on a 50-year-old dashboard can strip the remaining oils and cause the material to shrink instantly. Always test a small, hidden area first. Another common error is using the wrong thread. If you're sewing upholstery, use bonded nylon or polyester thread. Cotton thread will rot over time due to moisture and UV exposure, meaning your seams will literally pop open after a couple of years.
If you're working with original Leather, remember that it's a skin. It needs to breathe. Avoid using thick, wax-based creams that seal the pores. Instead, look for pH-balanced conditioners that penetrate the surface. This keeps the leather supple and prevents the "stiff" feeling that leads to cracking in the first place.
Can I repair a cracked dashboard without replacing the whole thing?
Yes, you can. For small cracks, using a flexible vinyl filler and a matching grain tool works well. For larger cracks, a dashboard cover (dash cap) is the most effective way to hide the damage while preserving the original structure. Professional restoration shops can also "re-skin" the dash by stripping the old vinyl and applying a new layer of material over the foam.
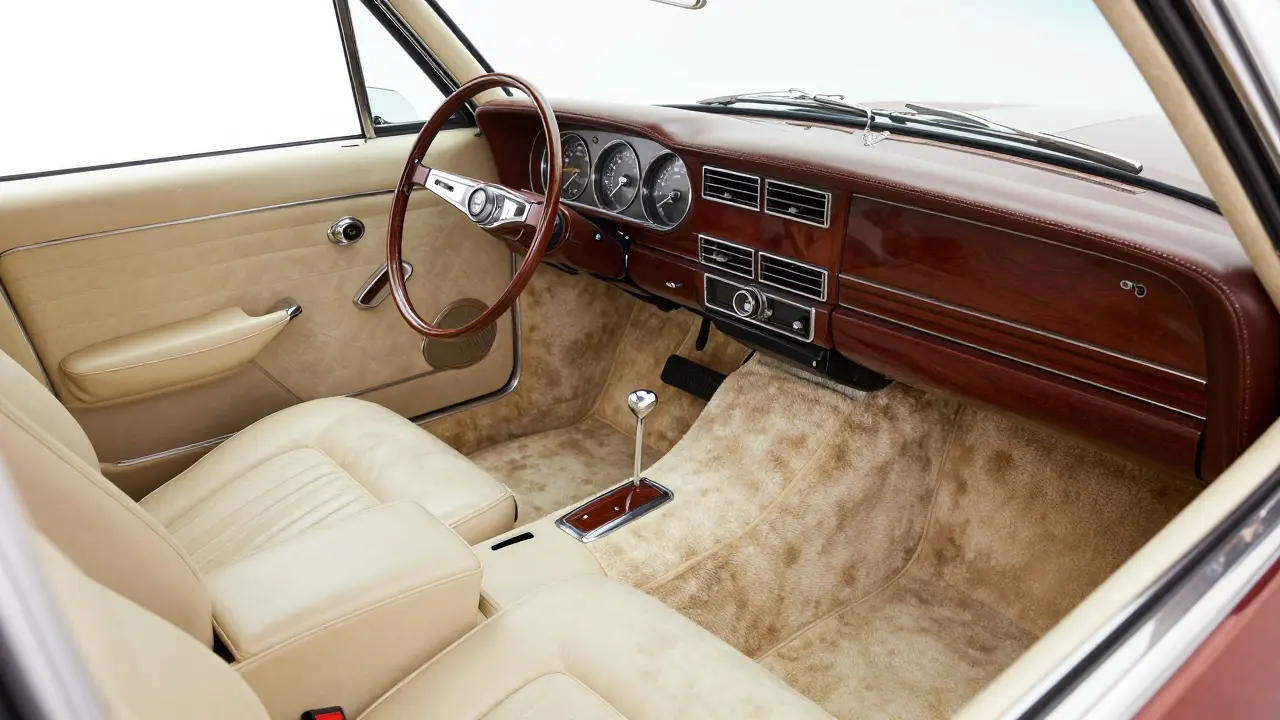
What is the best material for classic car upholstery?
It depends on your goal. If you want a factory-correct restoration, stick to the original materials (usually a mix of vinyl and cloth). If you want more durability and luxury, top-grain leather is the best choice. For a budget-friendly but durable option, marine-grade vinyl is excellent because it's designed to withstand extreme UV rays and moisture.
How do I stop my headliner from sagging?
The only permanent fix is to remove the headliner board, strip the old glue, and re-apply the fabric using a high-temperature spray adhesive. Temporary fixes like "headliner pins" only work for a short time and usually leave permanent holes in the fabric.
Do I need professional tools to restore car seats?
For basic cleaning and patching, household tools are fine. However, if you're replacing covers, a walking foot sewing machine is highly recommended because standard machines cannot handle the thickness of automotive vinyl and leather. You'll also need a heavy-duty staple gun for securing fabric to the seat frames.
Will using a dash cap affect the resale value of my classic car?
Generally, no. In many cases, a clean, well-fitting dash cap is preferred over a cracked, peeling dashboard. As long as the cap is installed neatly, it enhances the aesthetic appeal. For high-end "concours' restorations, a full professional rebuild of the original dash is preferred, but for a driver's car, a cap is a practical and accepted solution.
Next Steps for Your Interior
If you're just starting, don't try to do the whole car in one weekend. Start with a "deep clean phase" to see what can be saved. Once you've cleaned everything, map out your priorities. Usually, the seats are the most urgent because they provide the most physical support. After that, tackle the dashboard to stop further UV damage. Finally, move to the headliner and carpets. If you find that the metal floor pans are too far gone for a DIY fix, it's worth calling a local body shop to weld those patches before you spend any money on expensive carpets.
Comments
mark nine
walking foot machine is a total game changer for this stuff. tried doing a kit with a standard singer once and basically just broke the needle every two inches. definitely invest in the right gear before starting or youll just end up frustrated and with a bunch of ruined vinyl
April 11, 2026 at 20:56
Sandi Johnson
Oh sure, because we all just happen to have a heavy-duty industrial sewing machine sitting in our guest bedroom for a rainy Sunday afternoon. Truly a very accessible DIY project for the common man.
April 12, 2026 at 15:52
Bill Castanier
The tip about pH-neutral cleaners is spot on. It saves the original patina.
April 12, 2026 at 19:27
Eva Monhaut
This is such a vivid roadmap for anyone wanting to rescue a dusty relic! Transforming a crumbly cabin into a plush sanctuary is just a symphony of patience and the right glue. I absolutely love the idea of using synthetic suede for that hush-hush library feel inside a loud muscle car. It's a dazzling way to breathe new life into an old soul!
April 14, 2026 at 11:39
Flannery Smail
Idk why everyone is obsessed with OEM-spec. I used some generic marine vinyl on my Chevelle and it's held up way better than the original cloth ever did. Sometimes the original design was garbage for a reason.
April 15, 2026 at 15:19
Michael Gradwell
imagine putting a dash cap on a real classic. just tacky. if you cant fix the actual material you dont deserve the car. its about integrity and respect for the original build not just hiding the damage with a piece of plastic
April 17, 2026 at 06:33
Ronnie Kaye
Wow, look at Mr. Integrity over here! I'm sure your original dashboard is just pristine and not at all a disaster waiting to happen. I'll be over here in my
April 18, 2026 at 05:37
Priyank Panchal
Stop talking about
April 20, 2026 at 01:06
Rakesh Kumar
My goodness! I had no idea that the foam could actually turn into powder! It is absolutely heartbreaking to think that a beautiful seat could be hiding a bag of walnuts inside! I must check my car immediately!
April 21, 2026 at 08:54
Ian Maggs
The philosophy of restoration... is it about the object, or the memory of the object??? If we replace every fiber, do we lose the ghost of the previous owner... or do we simply create a new ghost???
April 22, 2026 at 05:21
Emmanuel Sadi
Cute guide. I'm sure some amateur thinks this is a masterclass. The section on floor pans is a joke. You can't just
April 23, 2026 at 03:06
Tony Smith
It is truly a marvel of human endurance to attempt such a task without a professional facility. One must admire the sheer audacity of using a spray adhesive in a driveway, provided one enjoys the scent of chemical failure.
April 24, 2026 at 02:06