Getting the speed right into a corner isn’t about going slower-it’s about going just fast enough. Too slow, and you waste time. Too fast, and you run wide, brake mid-corner, or worse-lose control. The difference between a smooth, fast line and a panicked correction comes down to two things: where you look and where you brake. Master these, and corners stop being scary. They become predictable, even fun.
Why Reference Points Matter More Than You Think
Reference points are visual markers you use to time your braking and turn-in. They’re not magic. They’re just things you can see-like a crack in the road, a signpost, a tree, or even a shadow. The key is consistency. Pick the same point every time, and your brain starts to trust it.
On a twisty backroad near Bristol, I used to miss my turn-in by a full car length because I was waiting for a feeling. Then I started using the edge of the curb just before the apex. One day, I marked it with a small white stone. That stone became my anchor. Now, when I see it, I know: brake now, release brake as I turn, look through the corner. No guessing. No hesitation.
Reference points work because they remove emotion from the equation. You’re not reacting to fear-you’re reacting to a sight you’ve trained yourself to trust. Beginners often fixate on the apex. That’s too late. You need to pick your point before you even start braking. Look ahead. Find something solid. Use it.
The Braking Zone: Where Control Begins
Your braking zone is the stretch of road between your reference point and where you start leaning. It’s not just about stopping. It’s about managing weight transfer. When you brake hard, the front tire loads up. That gives you more grip-for turning. But if you brake too late, or too hard, you overload the front. The rear can slide. Or worse, the front tucks under.
Here’s the rule: brake in a straight line. Always. Even if the corner looks tight. If you’re braking while leaned over, you’re dividing your tire’s grip between slowing down and turning. Tires don’t like that. They need one job at a time. Brake first. Then turn. Simple.
Most riders brake too late. They think, ‘I’ll slow down when I see the turn.’ By then, it’s too late. The better approach: brake early, smoothly, and get it done before you even start to lean. A good braking zone is 30 to 50 meters long-long enough to let the suspension settle, the tires grip, and your body relax.
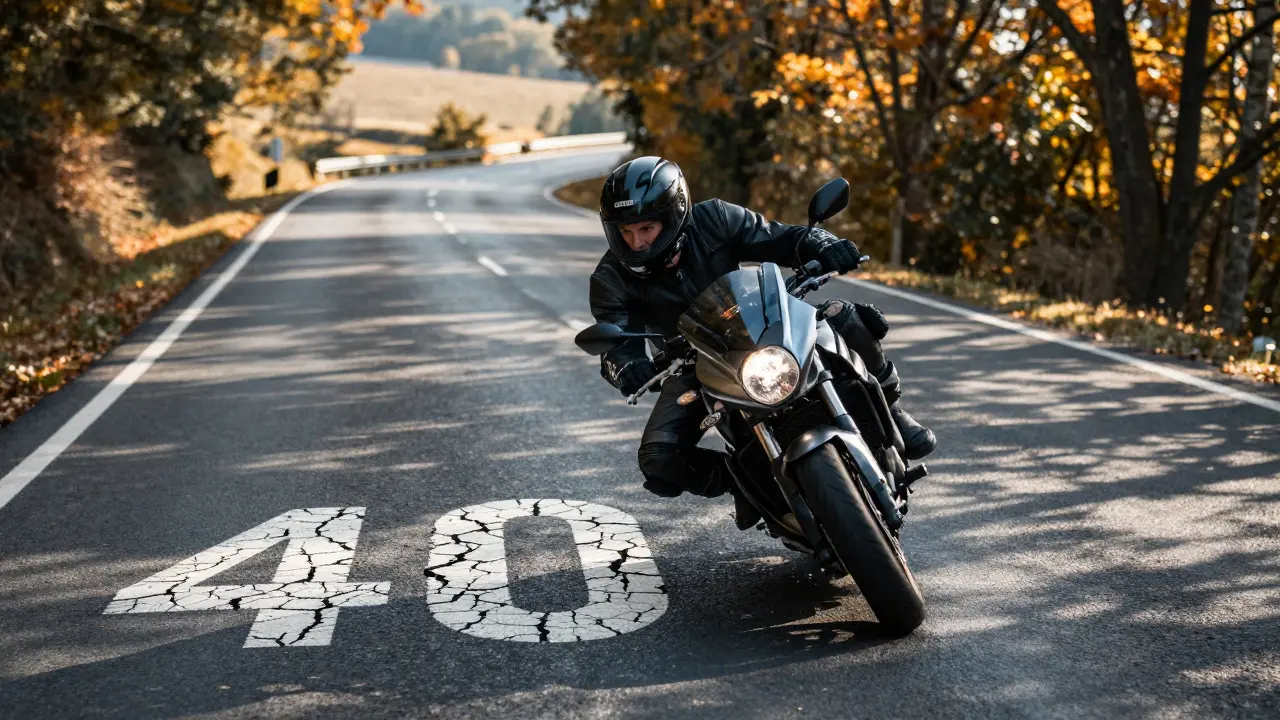
Try this drill: pick a corner you ride often. Set a reference point 40 meters before the apex. Every time you hit it, you must be off the brakes. No exceptions. Do it ten times. You’ll feel how much smoother the corner becomes. Your body stops bracing. Your head stays up. Your line gets tighter.
How to Find Your Own Reference Points
There’s no universal reference point. What works on a dry asphalt track won’t work on a wet country lane. You have to build your own library. Start by riding slowly. Pick a corner. Ride it once without braking. Just coast through. Notice what you see at the point where you naturally want to turn.
Now ride it again, braking hard. Where did you start braking? Where did you release? Write it down. Then ride it a third time, matching that exact spot. Over time, you’ll notice patterns. A faded white line? A gap between fence posts? A pothole that always looks the same? That’s your point.
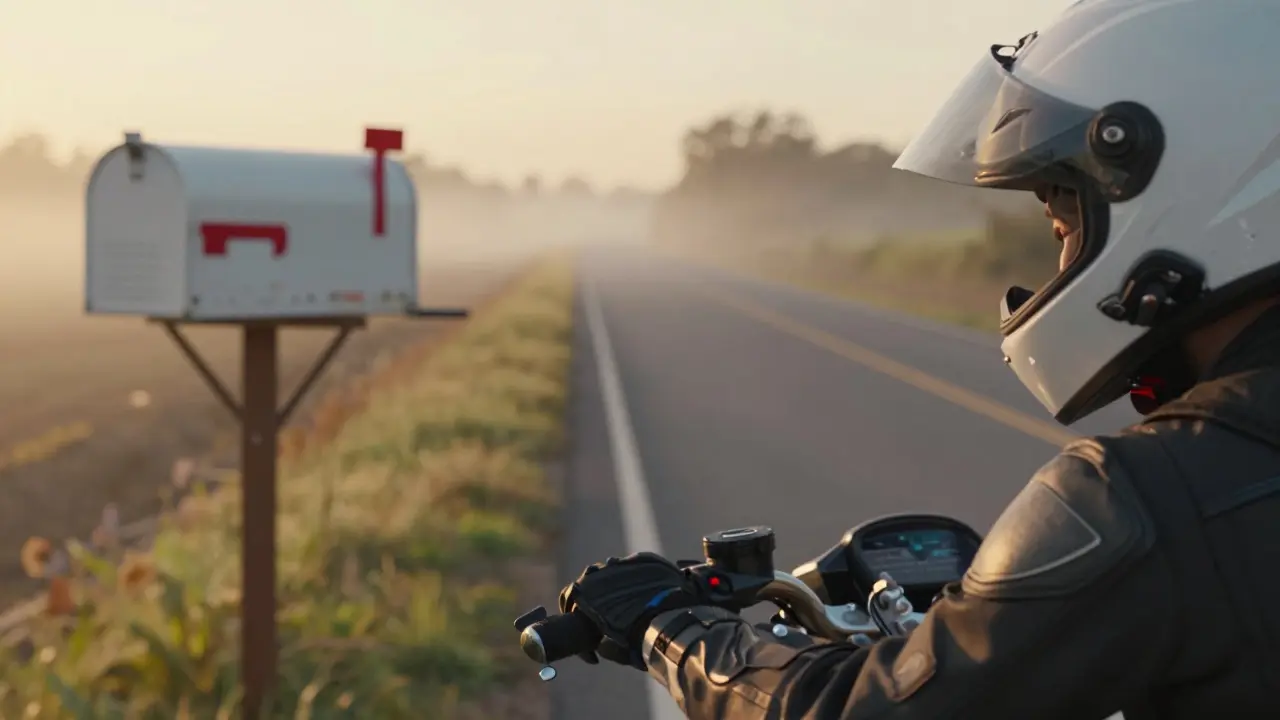
Use landmarks that don’t move. Trees change with seasons. Shadows shift with the sun. A mailbox, a utility pole, or a distinctive rock are better. They’re still there at dawn, at dusk, in rain. Consistency is everything.
On the A38 near Tavistock, there’s a left-hander with a broken drainage grate right before the apex. I use that. Every rider I’ve taught uses it too. It’s visible from 60 meters out. No confusion. No guesswork. Just brake at the grate, turn in, and ride out.
Braking Zones by Corner Type
Not all corners are the same. Your braking zone changes depending on the shape.
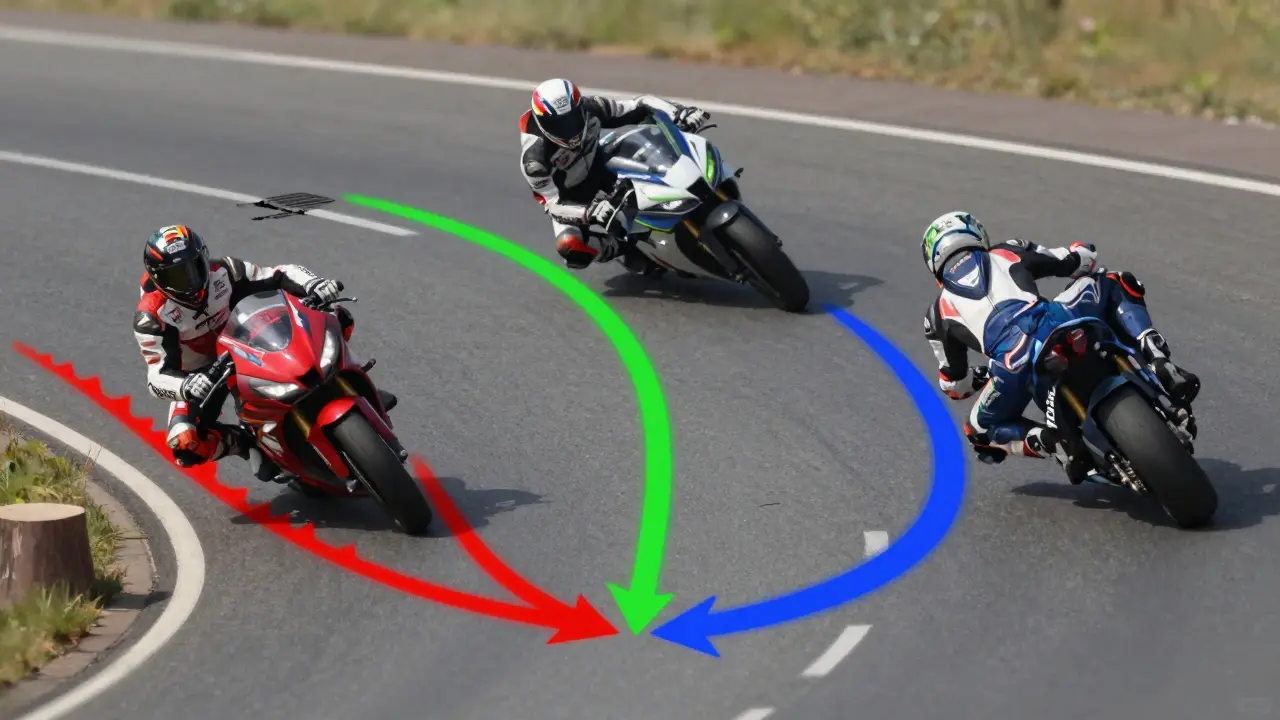
- Slow, 90-degree turns: Start braking 35-50 meters out. Release brakes just as you begin to lean. Keep your eyes on the exit. Don’t look at the apex.
- Fast, sweeping bends: Brake earlier-up to 70 meters out. Use light, progressive pressure. You’re not stopping, just shedding speed. Let the bike settle before leaning.
- Double apex corners: Brake before the first turn-in. Carry a little speed through the first apex, then brake again briefly before the second. Think of it as two separate entries.
- Hairpins with limited visibility: Brake before you even see the apex. Use the last visible marker-like a bend in the road or a tree line-as your cue. Better to be too slow than too late.
On a track day at Cadwell Park, I watched a rider miss the exit on a tight hairpin because he waited until he saw the apex to brake. He ran wide, clipped the grass, and crashed. He wasn’t slow. He was just late. The fix? Brake before the turn. Trust your reference point, not your eyes.
Common Mistakes and How to Fix Them
Here’s what most riders do wrong-and how to fix it:
- Mistake: Braking while leaned over. Fix: Brake in a straight line. Period. If you need to slow down mid-corner, you’re already in trouble. Slow down earlier.
- Mistake: Looking at the apex instead of the exit. Fix: Your bike goes where you look. If you stare at the wall, you’ll hit it. Look past the apex, to where you want to exit.
- Mistake: Using the same reference point for every corner. Fix: Build a personal library. Not every corner is the same. Train yourself to adapt.
- Mistake: Braking too hard, too fast. Fix: Smooth pressure. Imagine you’re squeezing a sponge, not slapping it. Let the bike settle. Your body should feel calm, not tense.
One rider I coached kept running wide on a right-hander because he’d brake too late and panic. He’d stare at the guardrail. I told him to pick a tree 40 meters before the turn. Every time he saw it, he had to be off the brakes. After three laps, he was hitting the apex cleanly. He didn’t change his bike. He changed his mind.
Practice Drills to Build Confidence
You don’t need a track to get better. You just need a quiet road and a plan.
- Brake-Only Drill: Find a straight road with a corner ahead. Ride at 50 km/h. At a fixed point-say, a lamppost-cut the throttle and brake smoothly until you’re at 20 km/h. Then release. Do this five times. Focus only on smoothness, not speed.
- Reference Point Hunt: On your next ride, pick three corners. Before you ride them, write down what you’ll use as your braking reference. After the ride, note what worked and what didn’t. Adjust next time.
- Slow-Motion Cornering: Ride a familiar corner at half your normal speed. Focus on your body position, your head movement, and your braking point. Do this slowly so you can feel every detail.
These drills take 10 minutes. But they rewire your brain. After a few weeks, you won’t think about reference points. You’ll just use them. Like breathing.
Final Thought: Speed Is a Byproduct
Corner entry speed isn’t something you chase. It’s something you earn. By braking early. By using solid reference points. By trusting your eyes, not your nerves.
The fastest riders aren’t the ones who brake last. They’re the ones who brake early, smoothly, and with purpose. They know exactly where to look. They’ve built their own map. And they ride it without hesitation.
Start small. Pick one corner. Pick one reference point. Brake at it. Every time. No exceptions. Do that for a week. Then move to the next. You’ll be surprised how fast you get better-not because you’re riding harder, but because you’re riding smarter.
What’s the best reference point for braking on a motorcycle?
There’s no single best point-it depends on the corner and your experience. Look for fixed, visible markers like a curb, a sign, a pothole, or a crack in the road. The key is consistency. Use the same point every time so your brain learns to trust it. Avoid temporary markers like shadows or moving objects.
Should I brake before or after entering a corner?
Always brake before you lean into the corner. Braking while leaned over divides your tire’s grip between slowing down and turning, which can cause a loss of traction. The safest and most effective method is to brake in a straight line, then release the brakes as you begin to turn. This keeps the tires stable and gives you maximum control.
How far ahead should I look when approaching a corner?
Look as far ahead as you can-ideally to the exit of the corner, not the apex. Your motorcycle follows your line of sight. If you stare at the inside of the turn, you’ll drift toward it. Focusing on the exit helps you maintain a smooth, wide arc and gives you time to react to surprises like gravel or oncoming traffic.
Can I use the same reference points for different bikes?
You can, but you might need to adjust. Different bikes have different braking power, weight distribution, and suspension behavior. A sportbike stops faster than a cruiser, so your braking point may need to be earlier on a lighter bike. Always test and adjust your reference points when switching bikes.
What if I misjudge my braking point and enter too fast?
If you enter too fast, the safest move is to straighten the bike slightly and brake harder-still in a straight line-then re-enter the corner. Never brake while leaned over. If you’re too far off line, it’s better to run wide than to risk a crash. Practice makes this instinctive. The goal is to avoid the situation altogether by using consistent reference points.
Comments
Amy P
I used to think braking late made me look cool-until I wiped out on a gravel shoulder last spring. Now I have a little chalk mark on my favorite bend. I see it, I brake. No drama. No panic. Just smooth. My bike and I are finally friends.
January 30, 2026 at 07:13
Ashley Kuehnel
OMG YES THIS. I taught my sister to ride last summer and she kept staring at the apex like it was going to bite her. We picked a rusty mailbox as her reference point-she still texts me when she hits it right. No more white-knuckle corners. Also, if you’re using shadows? Please don’t. They lie. Especially at dawn. I learned that the hard way. 😅
February 1, 2026 at 02:19
adam smith
Braking before turning is a basic principle. It is not new. It is not revolutionary. It is simply correct. I am surprised this requires an article.
February 1, 2026 at 05:00
Mongezi Mkhwanazi
Let me tell you something, and I’ve ridden over 200,000 miles-across deserts, mountains, monsoons, and ice-reference points are not just helpful, they’re existential. You don’t ‘find’ them-you cultivate them, like a bonsai tree, with patience, repetition, and absolute discipline. If you’re using a pothole? You’re already one mistake away from a coroner’s call. A curb? Maybe. A utility pole? Acceptable. But only if it’s not leaning. And never, ever, ever trust a painted line-it fades, it peels, it’s painted by someone who doesn’t ride. I once saw a rider die because he trusted a faded arrow. Don’t be that guy. Build your own map. In blood, sweat, and asphalt.
February 2, 2026 at 12:03
Mark Nitka
Some of you are overcomplicating this. It’s not rocket science. Pick a thing. Brake at it. Look past the turn. Repeat. Done. I’ve taught this to people with zero experience in 10 minutes on a quiet parking lot. If you’re still scared, you’re not riding-you’re waiting for permission to be good. Go ride. Now.
February 3, 2026 at 05:02
Kelley Nelson
While I appreciate the earnestness of this piece, one must question the epistemological foundations of relying on arbitrary visual markers-particularly in an environment as dynamic as a public roadway. One might argue that such practices, while pragmatic, are fundamentally antithetical to the artistry of motorcycling, which demands intuitive spatial awareness, not mechanical cueing. One wonders if the author has ever read Heidegger on being-in-the-world.
February 4, 2026 at 07:38
Aryan Gupta
They told you to use reference points, didn’t they? But who made those markers? Who painted the lines? Who installed the mailboxes? I’ve seen it-these ‘fixed’ points are planted by the same people who control the traffic cams. They want you to brake at certain spots so they can catch you speeding later. And the ‘drainage grate’? That’s not a landmark-it’s a sensor. Your bike’s ABS is being calibrated by a government algorithm. You’re not riding. You’re being guided. Wake up. The real skill is reading the road without trusting anything on it.
February 5, 2026 at 20:40
Fredda Freyer
What’s fascinating isn’t the technique-it’s how deeply we’ve internalized fear. We don’t need more rules. We need to unlearn the panic. That stone you placed? That mailbox? Those aren’t just markers-they’re anchors to your calm. The moment you stop fighting the bike, stop fighting the corner, stop fighting yourself-that’s when speed becomes grace. I’ve ridden with people who could hit 120 through a blind bend because they weren’t trying to control the ride. They were listening to it. Maybe the real reference point isn’t what you see-but who you are when you’re not afraid.
February 7, 2026 at 10:31