
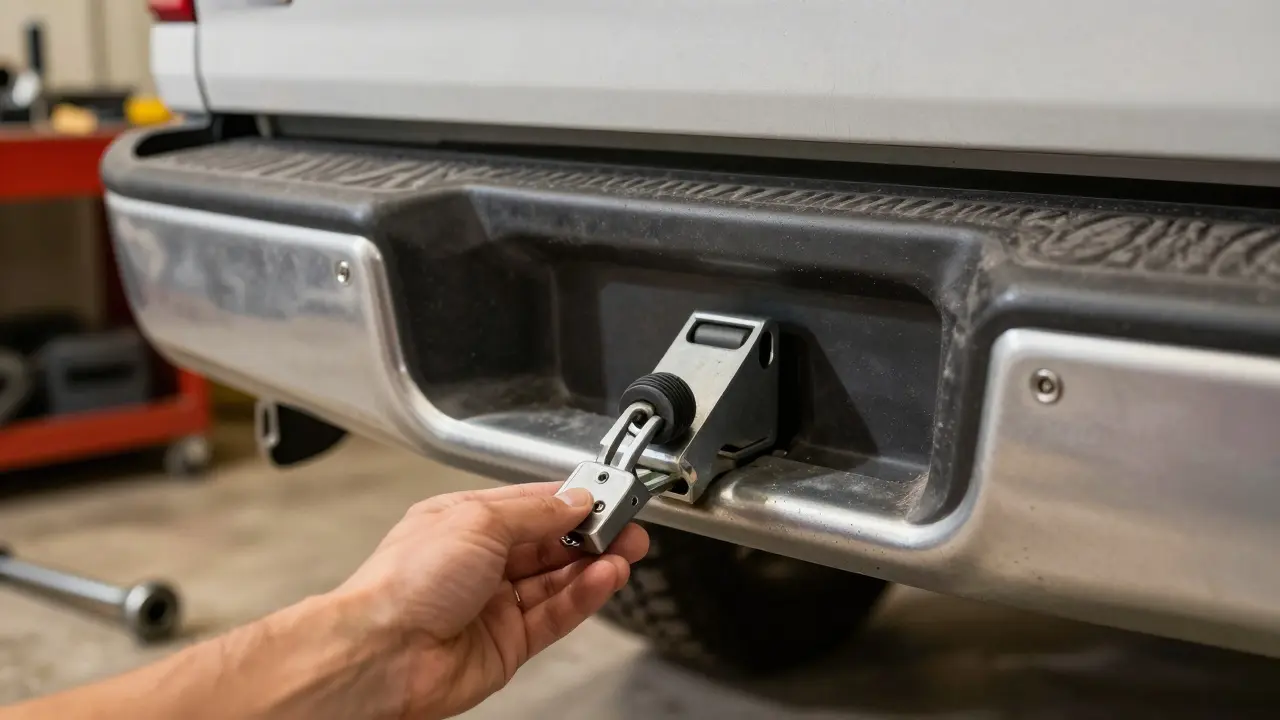
There is nothing worse than standing at a campsite or a construction site with your truck backed up to a trailer, only to realize the hitch ball won't fit the coupler. Or worse yet, you've loaded up the boat, turned on the ignition, and realized your brake controller isn't wired in. Hitch installation isn't just about bolting a metal box to your frame; it's about understanding the geometry of your specific vehicle and matching it to the weight you intend to move.
If you are buying a new pickup or upgrading an older one, the process can feel overwhelming because there are so many variables. You have the physical hitch itself, the electrical connections, the tow bar, and the shank size. Get one wrong, and you risk damaging your truck's rear end or creating a dangerous swaying situation on the highway. This guide breaks down exactly how to size your receiver and install it safely, ensuring your setup matches your truck's capabilities.
Understanding Hitch Classes and Weight Ratings
Before you look at bolts or wires, you need to understand what "Class" means when people talk about hitches. The hitch class tells you the maximum weight limits for two different things: the total tongue weight (how much the trailer presses down on your hitch) and the gross trailer weight (the total weight of the trailer plus its cargo). It does not tell you what your truck can tow. That number comes from your owner's manual.
| Hitch Class | Tongue Weight Limit | Gross Trailer Weight | Receiver Size | Typical Use Case |
|---|---|---|---|---|
| Class I | Up to 200 lbs | Up to 2,000 lbs | 1-1/4 inch | Bikes, small cargo boxes |
| Class II | Up to 350 lbs | Up to 3,500 lbs | 1-1/4 inch | Small utility trailers, jet skis |
| Class III | Up to 600 lbs | Up to 6,000 lbs | 2 inch | Campers, horse trailers, boats |
| Class IV | Up to 1,000 lbs | Up to 10,000 lbs | 2 inch | Large RVs, heavy equipment |
| Class V | Over 1,000 lbs | Over 10,000 lbs | 2-1/2 inch | Heavy-duty commercial towing |
The most common mistake people make is assuming that if they have a Class III hitch, they can tow 6,000 pounds. While the hitch might handle that load, your truck's engine, transmission, and brakes might not. Always check your vehicle's Gross Combined Weight Rating (GCWR). If your truck is rated for 8,000 pounds of towing but you install a 10,000-pound hitch, you haven't increased your capability. You've just bought an expensive paperweight.
Choosing the Right Receiver Size: 1-1/4 vs. 2 Inch
The receiver tube is the square hole where you plug in your tow bars, bike racks, and cargo carriers. The size of this tube dictates which accessories you can use. For light duty work, like carrying bicycles or a small dog kennel, a 1-1/4-inch receiver is standard. It keeps the profile low and looks cleaner on smaller SUVs or compact pickups.
However, if you plan to do any serious towing, you want a 2-inch receiver. Most modern mid-size and full-size trucks come with a 2-inch receiver as part of their tow package. The 2-inch shank provides more stability and reduces sway because there is less wiggle room between the accessory and the hitch. If you buy a 2-inch hitch, you can still use 1-1/4-inch accessories by using a simple reducer sleeve. You cannot, however, put a 2-inch accessory into a 1-1/4-inch hole. So, when in doubt, go bigger.
For heavy-duty applications involving fifth-wheel or gooseneck trailers, you'll see 2-1/2-inch receivers. These are rare on standard consumer trucks unless they are specifically configured for farm or construction use. They require specialized pins and locks, so unless you know you need them, stick to the 2-inch standard.
Installation Methods: Bolt-On vs. Weld-On
When it comes time to get the hitch onto your truck, you generally have two options. The first is a bolt-on installation. This is the method used by almost all aftermarket manufacturers like Curt, Draw-Tite, and Reese. The hitch is designed to fit over existing holes in your truck's frame rails or underbody crossmembers. You align the holes, insert grade 8 bolts, and tighten them to specification.
Bolt-on hitches are popular because they are reversible. If you sell the truck or decide you don't need the hitch anymore, you can remove it without leaving permanent marks. However, you must ensure the bolts are torqued correctly. Loose bolts can lead to the hitch vibrating loose while driving, which is a catastrophic failure waiting to happen. Always use a torque wrench and follow the manufacturer's specifications, usually around 70-90 foot-pounds for large frame bolts.
The second option is a weld-on hitch. This is typically done by dealerships during the factory assembly process or by specialty shops for custom builds. Welding creates a permanent bond between the hitch and the frame, offering maximum strength. The downside is that it can complicate future repairs to the frame and may void certain warranties if not done by authorized personnel. For most DIYers and even professional installers, bolt-on is the preferred route due to ease of service and inspection.
Wiring Up the Trailer Connector
A hitch without lights is useless. You need to connect your trailer's brake lights, turn signals, and running lights to your truck's electrical system. There are two main ways to do this: tapping into the taillight harness or using a module-based system.
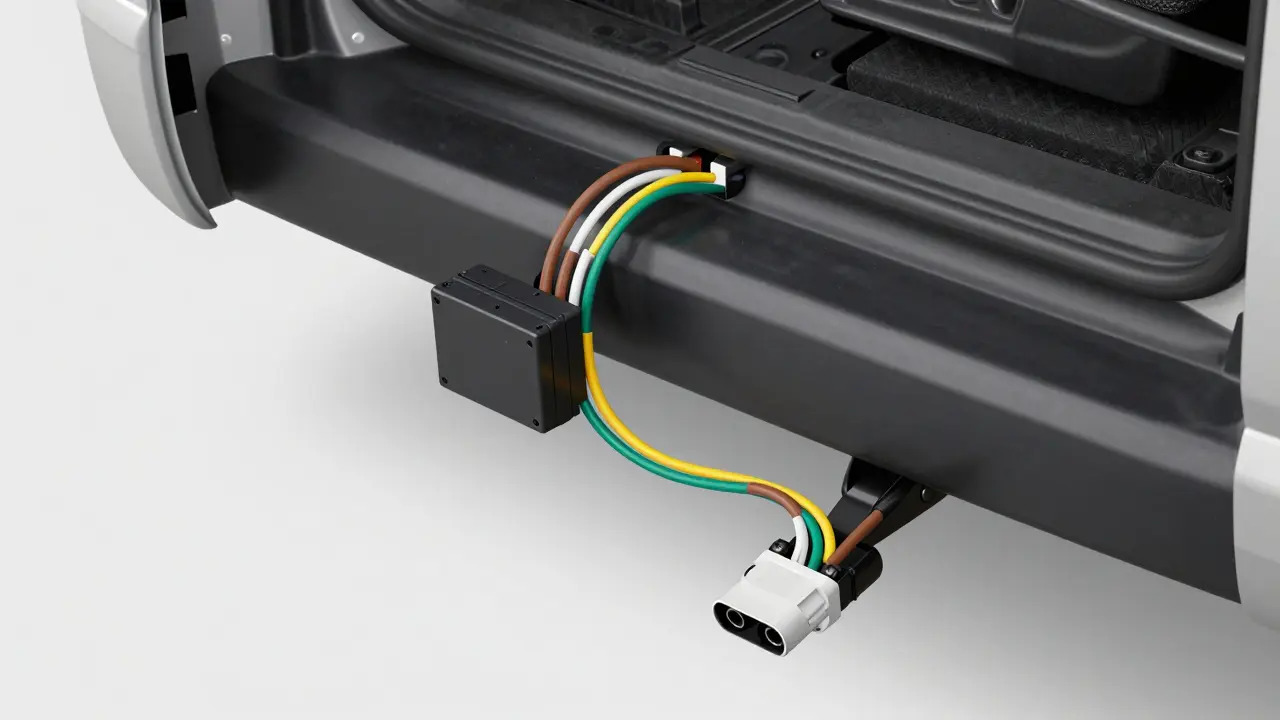
Tapping into the taillights involves splicing wires directly into the back of your truck's tail light assemblies. This is cheap and effective but requires some technical skill. You have to identify which wire controls which function (usually brown for ground, yellow for left turn, green for right turn, white for running lights) and solder or crimp the connections securely. If you do this poorly, moisture can get in, causing corrosion and short circuits that blow fuses.
Module-based systems are easier for beginners. Brands like Tekonsha and Hopkins offer modules that plug directly into your truck's factory diagnostic port (OBD-II) or a dedicated connector behind the dashboard. The module interprets your truck's electronic signals and sends the correct power to the trailer connector. These kits often include a pre-wired harness that runs from the front of the cab to the rear bumper, making installation a matter of routing wires through grommets rather than stripping insulation. While slightly more expensive, they save hours of troubleshooting.
Essential Accessories: Balls, Pins, and Brakes
Once the hitch and wiring are installed, you need the hardware to actually attach the trailer. The hitch ball is the most critical component. It screws into the receiver tube via a threaded shank. Common sizes are 1-7/8 inches, 2 inches, and 2-5/16 inches. You must match the ball size to the coupler on your trailer. Using a ball that is too small allows the coupler to slip off; using one that is too large prevents the latch from closing properly.
You also need a hitch pin and clip. Never rely on the gravity pin alone. A gravity pin works by falling down into place, but vibrations can jar it loose. A locking pin with a keyed lock provides security against theft and ensures the accessory stays seated in the receiver. For heavier loads, consider a weight distribution hitch. This system uses springs to transfer some of the trailer's tongue weight back to the trailer's axles and the truck's front axle. This levels out the truck, improves braking, and reduces sway. It is essential for anything towing near the upper limit of your hitch class.
If your trailer has electric brakes, you will need a brake controller. This device mounts inside your cab and monitors your truck's deceleration. When you hit the brakes, the controller sends a proportional current to the trailer's brakes, helping you stop faster and reducing wear on your truck's brake pads. Modern controllers often feature automatic leveling and self-testing features, making them user-friendly even for occasional tow ers.
Safety Checks Before Every Trip
Installing the hitch is only half the battle. Maintenance and pre-trip checks are what keep you safe. Before every trip, perform these steps:
- Check the Ball Mount: Ensure the ball mount is inserted fully into the receiver and secured with the pin and lock. Look for cracks or bends in the metal.
- Inspect the Wiring: Plug in the trailer and test all lights. Turn on your hazard lights, left signal, right signal, and brakes. Make sure the trailer mirrors your truck's actions.
- Verify Tire Pressure: Check both your truck's tires and the trailer's tires. Under-inflated trailer tires are a leading cause of blowouts and loss of control.
- Secure Safety Chains: Cross the safety chains under the tongue of the trailer so they catch the tongue if the coupler fails. Attach them to the frame of the truck, not the hitch itself.
- Test Brake Controller: If equipped, perform a test drive in a safe area to ensure the trailer brakes engage smoothly without locking up.
Regularly inspect the mounting bolts on your hitch. Over time, road vibration can loosen them. Torque them annually or after long trips. Also, clean the receiver tube periodically. Dirt and rust buildup can prevent accessories from seating properly, leading to play and noise.
Can I install a hitch myself?
Yes, most bolt-on hitches are designed for DIY installation. You will need basic hand tools, a jack and stands to lift the truck, and a torque wrench. Follow the manufacturer's instructions carefully. If you are uncomfortable working under a vehicle or drilling into the frame, hire a professional installer.
What is the difference between tongue weight and payload?
Tongue weight is the downward force the trailer exerts on your hitch, typically 10-15% of the total trailer weight. Payload is the total weight your truck can carry, including passengers, cargo in the bed, and the tongue weight. Exceeding your payload capacity is illegal and dangerous, even if your towing capacity is higher.
Do I need a weight distribution hitch for a Class III hitch?
It depends on the weight. If you are towing close to the 6,000-pound limit, yes. A weight distribution hitch helps maintain proper steering and braking. For lighter loads, such as a small camper or boat, a standard ball mount may suffice, but always check your truck's manual for recommendations.
How do I choose the right hitch ball size?
Look at the coupler on your trailer. It will be stamped with the required ball size (e.g., 2" or 2-5/16"). Measure the diameter of the opening in the coupler if it is worn. Using the wrong size can cause the coupler to detach or fail to latch securely.
Is it better to have a factory hitch or an aftermarket one?
Factory hitches are integrated into the vehicle design and often include wiring. Aftermarket hitches can offer higher weight ratings and more customization. Both are safe if installed correctly. Choose based on your specific towing needs and budget.