
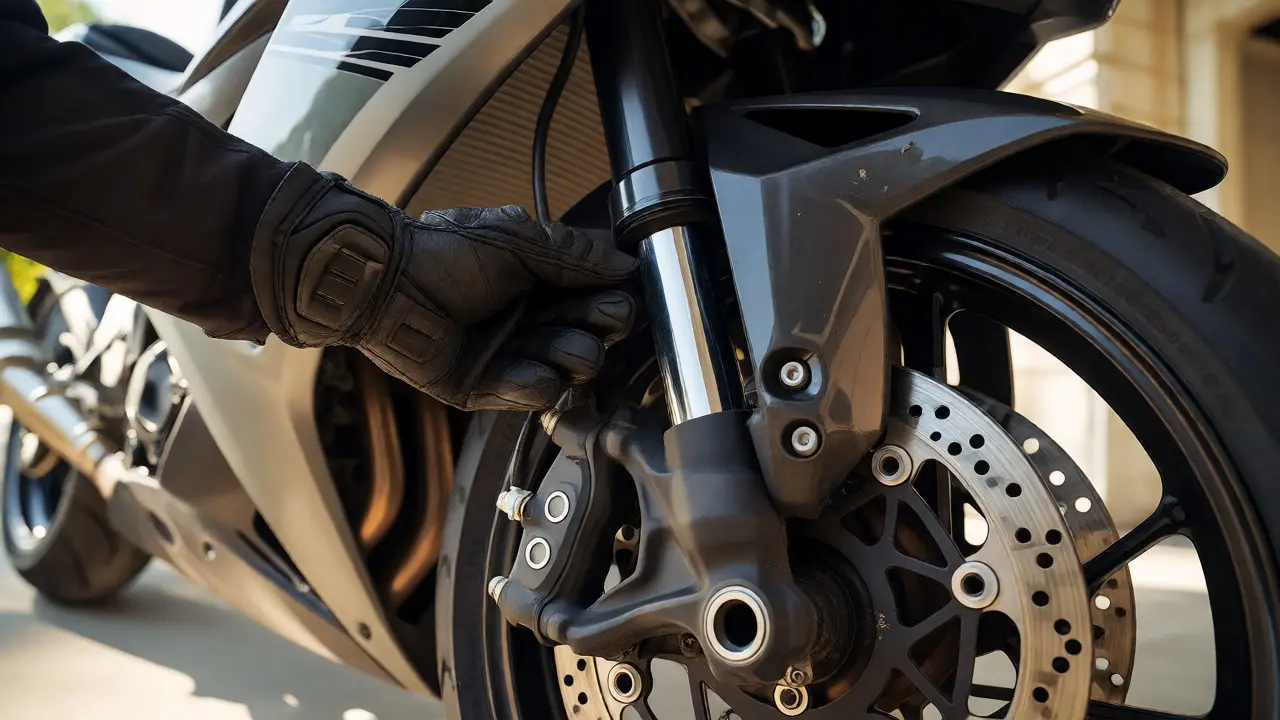
You just finished a long ride. Your motorcycle is covered in road grime, bug splatter, and that stubborn layer of brake dust. You grab the hose and the sponge, ready to scrub. But wait-did you know that improper washing can cost you hundreds of dollars in premature wear? It’s true. Using the wrong pressure, the wrong soap, or the wrong technique can strip protective coatings, force water into electrical components, and ruin your bearings.
Cleaning your bike isn’t just about vanity; it’s critical maintenance. Dirt holds moisture against metal parts, accelerating corrosion. Grime clogs cooling fins on engines, causing overheating. And let’s be honest-a shiny bike looks better at every stoplight. The goal here is simple: remove contaminants without harming sensitive parts like electronics, seals, and paint. Let’s break down exactly how to do it right.
The Pre-Wash Inspection
Before you even touch a bucket, walk around your bike. This takes two minutes but saves hours of headache later. Look for loose fairings, cracked hoses, or exposed wiring. If you have an older bike with questionable seals, high-pressure water is your enemy. Check your air filter intake location too. If it’s low and open, spraying directly at it will suck water into the engine. That’s a bad day.
Identify hot spots. Brake rotors, calipers, and exhaust pipes retain heat. Washing them while they’re scorching hot causes thermal shock. Metal contracts rapidly when cold water hits hot surfaces, potentially warping rotors or cracking ceramic coatings on exhausts. Wait until the engine and exhaust are warm to the touch, not hot. Warmth helps loosen dirt; extreme heat damages materials.
Gathering the Right Tools and Chemicals
Ditch the dish soap. It strips wax and dries out rubber seals. Instead, use a dedicated motorcycle cleaner or a pH-neutral car shampoo. These formulas lift dirt without attacking clear coats or plastic trim. For heavy grease on chains or swingarms, keep a specific degreaser handy. Never use household cleaners like Windex or bleach on painted surfaces-they leave residues or cause discoloration.
Your tool kit should include:
- Two buckets: One for soapy water, one for rinsing your mitt. This prevents dragging grit back onto the paint.
- Microfiber wash mitt: Soft, non-abrasive, and traps dirt inside its fibers rather than scratching the surface.
- Soft-bristle brushes: Different sizes for wheels, spokes, and intricate engine crevices.
- Wheel brush: Stiff enough for brake dust but safe for alloy rims.
- Chamois or microfiber drying towel: Regular towels leave lint and scratch paint.
The Washing Process: Top to Bottom
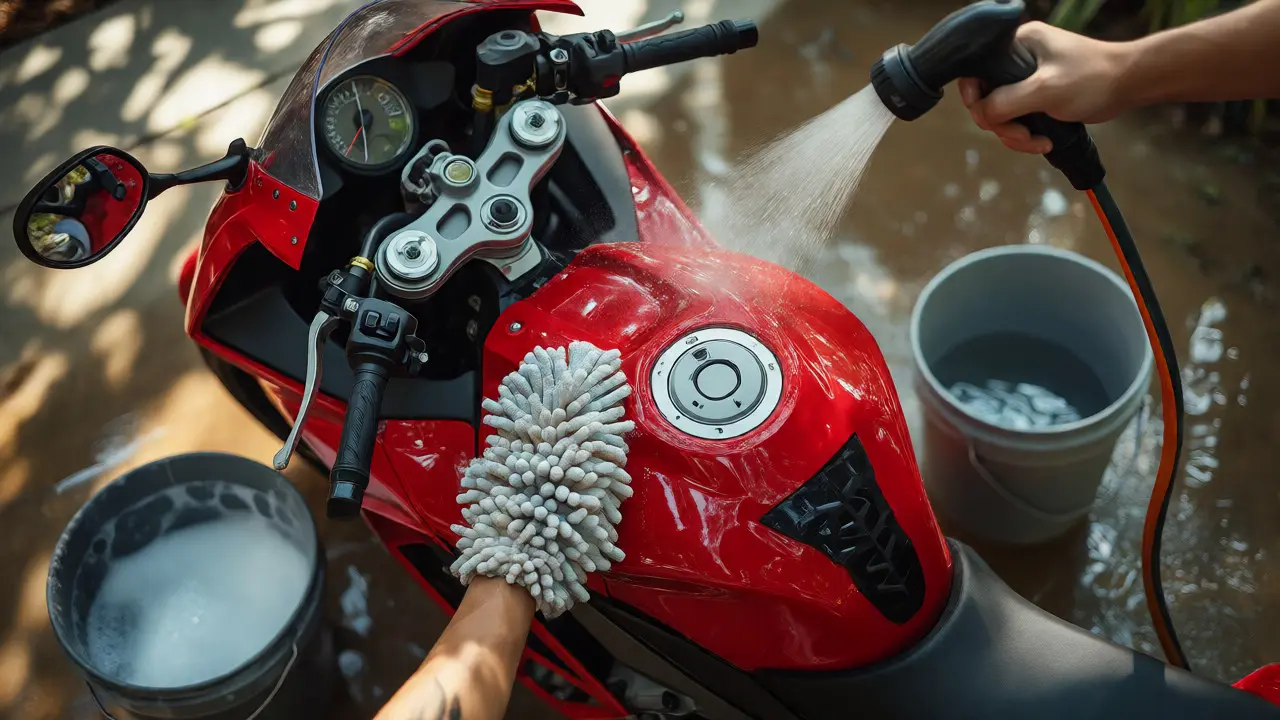
Gravity is your friend. Start at the top. Rinse the bike gently with a garden hose using a spray nozzle set to "shower" or "mist." Avoid the "jet" setting near sensitive areas. High-pressure washers (above 1,500 PSI) can force water past fork seals, into wheel bearings, and behind electrical connectors. If you must use a pressure washer, keep it at least two feet away and never aim directly at seals, vents, or the airbox.
Work from the roofline down to the fairings, then the tank, seat, and lower body panels. Use the two-bucket method. Dip your mitt in the soap bucket, wash a small section, rinse the mitt in the clean water bucket, wring it out, and repeat. This ensures you’re always using a clean mitt. For bugs and tar on the front fairing, apply a pre-wash spray or bug remover. Let it sit for a minute, then gently agitate with a soft brush. Don’t scrape with a razor blade unless you know exactly what you’re doing.
| Bike Area | Risk Level | Recommended Method | What to Avoid |
|---|---|---|---|
| Fairings & Tank | Low | Hand wash with microfiber | High-pressure jets |
| Engine Block | Medium | Brush and gentle rinse | Spraying directly into air intake |
| Chain & Sprockets | Low | Dedicated degreaser and brush | Soaking in solvent baths |
| Electronics & Dash | High | Damp cloth only | Direct water spray |
| Exhaust Pipes | Medium | Warm wash, dry immediately | Cold water on hot pipes |
Caring for Wheels, Tires, and Brakes
Wheels take a beating. Brake dust is acidic and eats away at clear coat if left too long. Spray a wheel cleaner specifically designed for alloys or powder-coated finishes. Let it dwell for the recommended time-it often turns purple as it reacts with iron particles in brake dust. Agitate with a wheel brush. Pay attention to the inner barrel of the rim, where dirt accumulates unnoticed.
Tires need love too. Road grime degrades rubber compounds over time. Scrub tires with a stiff brush and tire cleaner. After rinsing, apply a tire dressing if you want that deep black look. Note: Some riders avoid dressings because they can make tires slippery during the first few miles. If you ride aggressively, skip the shine and focus on cleanliness.
Brake rotors require special attention. Oil or lubricant on rotors means compromised stopping power. When washing, try to keep soap off the rotor faces. If you accidentally get lubricant on them, clean them with isopropyl alcohol before riding. Never let brake pads soak in soapy water; they absorb liquid and lose friction efficiency.
The Chain and Drivetrain Deep Clean
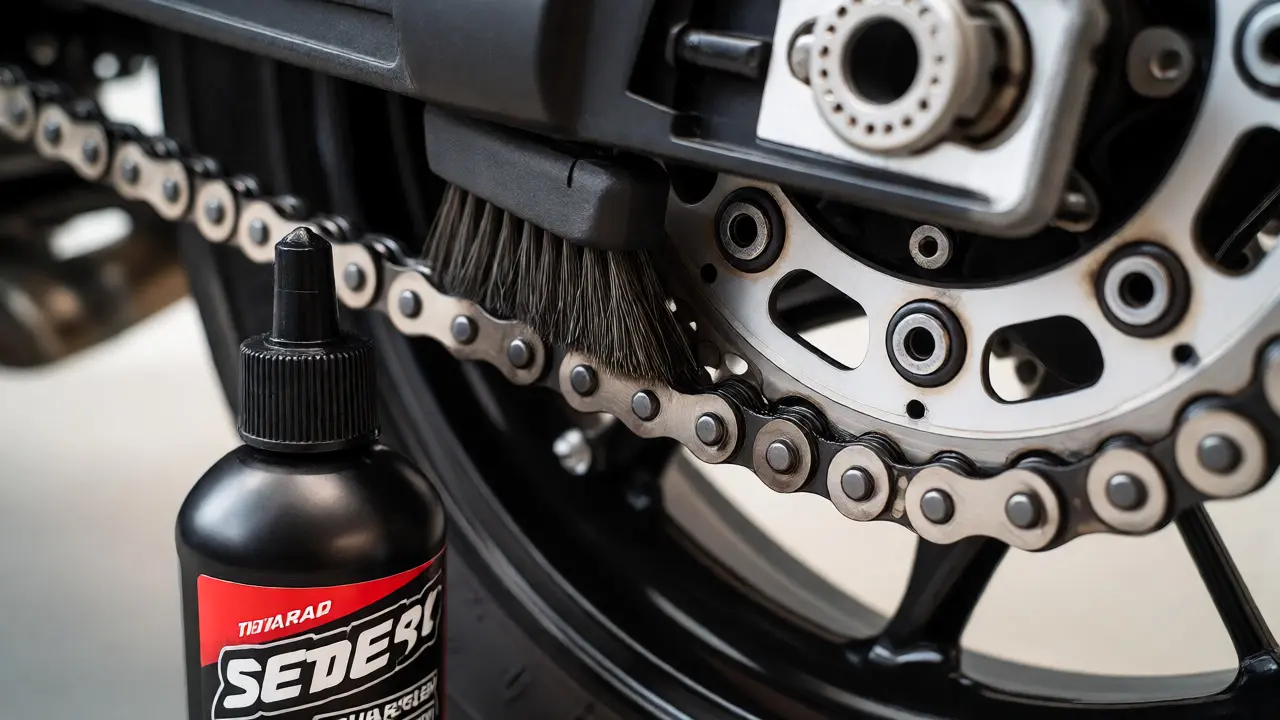
This is the most overlooked part of motorcycle cleaning. A dirty chain wears out sprockets faster and reduces power transfer. Put the bike on a center stand or rear paddock stand. Shift into neutral. Rotate the rear wheel by hand while applying chain cleaner with a brush. Scrub between each link plate. Rinse thoroughly with a low-pressure stream. Do not use kerosene or gasoline to clean chains; they degrade O-rings and X-rings, leading to premature stretching.
After cleaning, dry the chain completely with a rag. Then, apply a quality chain lube. Hold the can about six inches from the chain and apply to the inside of the links while rotating the wheel. Wipe off excess lube after ten minutes. Excess lube flings everywhere, creating a sticky mess on your swingarm and rear fender.
Drying and Protection
Air drying leaves water spots, especially if you have hard water. Use a clean chamois or large microfiber towel to blot the bike dry. Start at the top and work down. For hard-to-reach areas like under the seat or inside frame tubes, use compressed air or a leaf blower on a cool setting. This blows water out of crevices before it evaporates and leaves mineral deposits.
Once dry, protect the finish. Apply a synthetic sealant or wax every three months. Wax provides a sacrificial layer that repels water and dirt. For chrome and aluminum parts, use a metal polish occasionally to prevent oxidation. Be careful with plastics; some polishes contain abrasives that cloud matte finishes. Always check the label.
Common Mistakes to Avoid
Many riders think more pressure equals a better clean. Wrong. High pressure forces water into places it shouldn’t go, like spark plug wells and fuse boxes. Another mistake is washing in direct sunlight. Soap dries too fast, leaving streaks and stains. Find shade or wash early morning/evening.
Don’t forget the undercarriage. Mud and salt accumulate there, especially if you live in coastal or snowy regions. Rinse the underside thoroughly. Salt is corrosive and attacks aluminum engine cases and steel frames. If you ride in winter, wash your bike weekly to combat road salt.
Finally, don’t ignore the air filter housing. While you shouldn’t spray water into it, wiping down the exterior prevents debris from falling inside when you eventually service it. Keep the area around the intake clean to reduce contamination risk.
Related Concepts and Maintenance Tips
Cleaning ties directly into other maintenance tasks. Inspect your tires for tread depth and cracks while you’re scrubbing them. Check your brake fluid levels and condition. Look for oil leaks around the engine gaskets, which become obvious once the grime is gone. Spotting a leak early saves you from a roadside breakdown.
Consider your storage environment. If you keep your bike in a garage, cover it with a breathable cover to prevent dust buildup. Dust mixed with humidity creates mildew on leather seats. Leather seats need conditioner every few months to prevent cracking. Cleaning removes dirt that acts like sandpaper on leather stitching.
For those who ride sport bikes, fairing bolts can vibrate loose. Tighten them periodically, but don’t overtighten. Plastic threads strip easily. Use a torque wrench if you have one. Properly secured fairings reduce wind noise and prevent rattles that annoy you on long rides.
Can I use a pressure washer on my motorcycle?
Yes, but with caution. Use a low-pressure setting (under 1,500 PSI) and maintain a distance of at least two feet. Avoid directing the jet at seals, bearings, electrical connections, and the air intake. High pressure can force water into components that should stay dry, causing rust or electrical shorts.
How often should I clean my motorcycle?
Ideally, every two weeks or after every 500 miles, whichever comes first. If you ride in rain, snow, or coastal areas, wash it weekly to remove salt and grime. Frequent light cleaning prevents buildup that requires harsh chemicals and aggressive scrubbing later.
Is dish soap bad for motorcycle paint?
Yes. Dish soap is designed to cut grease on plates, not protect automotive paint. It strips waxes and sealants, leaving the clear coat vulnerable to UV damage and oxidation. Over time, it can also dry out rubber seals and plastic trim. Stick to pH-neutral automotive shampoos.
Should I clean my exhaust pipe while it's hot?
No. Cleaning a hot exhaust with cold water causes thermal shock, which can warp metal or crack ceramic coatings. Wait until the exhaust is warm to the touch but not burning hot. This temperature helps loosen carbon buildup without damaging the material.
What is the best way to clean a motorcycle chain?
Use a dedicated chain cleaner and a stiff brush. Rotate the rear wheel by hand to access all links. Avoid soaking the chain in solvents like gasoline, which degrade O-rings. After cleaning, rinse lightly, dry thoroughly, and apply chain lube to the inside of the rollers. Wipe off excess to prevent flinging.
Comments
Tommy Cahyadi
Great post, but let's be real: if you're using a pressure washer on your fork seals without knowing exactly what you're doing, you deserve the $300 repair bill. 😂
October 4, 2026 at 18:40
Anthony .
This is such a wholesome reminder that maintenance is actually an act of love for our machines 🥰. We often rush through cleaning like it's a chore, but taking the time to inspect every bolt and seal creates a deeper connection with the bike. It’s not just about looking good at stoplights; it’s about respecting the engineering that keeps us safe on the road. When we care for our bikes, they care for us in return, creating a cycle of mutual respect between rider and machine. I think many of us forget that these mechanical beasts have feelings too, or at least, they respond to how we treat them. The advice about waiting for the engine to cool down is particularly poignant because it teaches patience, a virtue we often lack in our fast-paced lives. By slowing down and observing the thermal dynamics of our motorcycles, we become more mindful riders. This approach transforms a mundane task into a meditative practice where we can clear our minds while clearing away grime. Let’s all strive to be better stewards of our vehicles and appreciate the intricate dance of metal and oil that powers our journeys. 🙏✨
October 5, 2026 at 22:25
Marisa Marroquin
The aesthetic implications of proper pH-balanced cleansing cannot be overstated. One must consider the delicate interplay between chemical agents and the epidermis of the paintwork.
October 6, 2026 at 08:15
Kathy Mccoy
You've got this! Cleaning doesn't have to be stressful. Just take it step by step, stay out of the sun, and remember that a little bit of elbow grease goes a long way. You'll feel so much more confident riding a clean bike!
October 8, 2026 at 04:07
Sabrina Silvani
the emphasis on avoiding high pressure near seals is critical because water intrusion leads to corrosion which destroys bearings prematurely
this isn't just cosmetic advice it's structural integrity preservation
most people ignore the chain O-rings until they snap
neglecting lubrication after cleaning causes immediate wear
the two bucket method prevents swirl marks effectively
using dish soap is amateur hour
clear coat protection requires specific polymers not generic cleaners
thermal shock on exhaust pipes is irreversible damage
electrical components are vulnerable to even mist settings
regular inspection saves money in the long run
October 10, 2026 at 00:25
Mithilesh Singh
In India, we understand the true value of preserving machinery. Our roads are unforgiving, filled with dust, mud, and chaos. If you do not wash your motorcycle correctly, the dirt will eat your bike alive. Westerners complain about 'road grime' but they have never seen the monsoon sludge that covers everything. You must use strong brushes and plenty of water. Do not be afraid of getting it wet. The quality of our roads demands aggressive cleaning. Respect the machine, keep it clean, and it will serve you faithfully for decades. Weakness in maintenance leads to weakness in performance. Be diligent.
October 11, 2026 at 08:47
Shaina Silver-Baird
I suspect that the push for 'dedicated motorcycle cleaners' is largely driven by corporate interests seeking to inflate consumer spending. While pH-neutral formulas are scientifically sound, one could argue that basic distilled water and microfiber cloths suffice for routine maintenance without exposing the vehicle to proprietary chemical compounds. There is also the concern regarding volatile organic compounds (VOCs) present in many degreasers, which may contribute to localized air pollution during application. Furthermore, the reliance on synthetic sealants might mask underlying oxidation issues rather than addressing them fundamentally. Consumers should remain skeptical of marketing claims suggesting that specialized products are indispensable when traditional methods have proven effective for generations.
October 11, 2026 at 23:46
Kathleen Johnson
While the article provides adequate general guidance, it fails to address the nuanced requirements of modern ceramic coatings. Standard car shampoos often contain surfactants that strip hydrophobic properties from these advanced finishes. Additionally, the recommendation for compressed air drying is risky if the compressor tank contains moisture, which can lead to flash rusting in tight crevices. A thorough understanding of surface science is required here, not just basic washing techniques.
October 13, 2026 at 22:39
Lauren Martin
Let's talk about the tribological impact of improper chain maintenance. Using kerosene degrades nitrile O-rings, leading to catastrophic tensile failure under load. The viscosity index of chain lube matters-low-temp flow characteristics prevent dry starts in cold climates. Brake caliper piston retraction relies on seal elasticity; harsh solvents compromise this elasticity, causing drag and uneven pad wear. Wheel bearing greases are susceptible to emulsification if high-pressure water breaches the labyrinth seals, resulting in premature spalling. This isn't just 'cleaning'; it's preserving the kinematic efficiency of the drivetrain. Ignoring these material science principles is simply negligent ownership.
October 15, 2026 at 05:17