
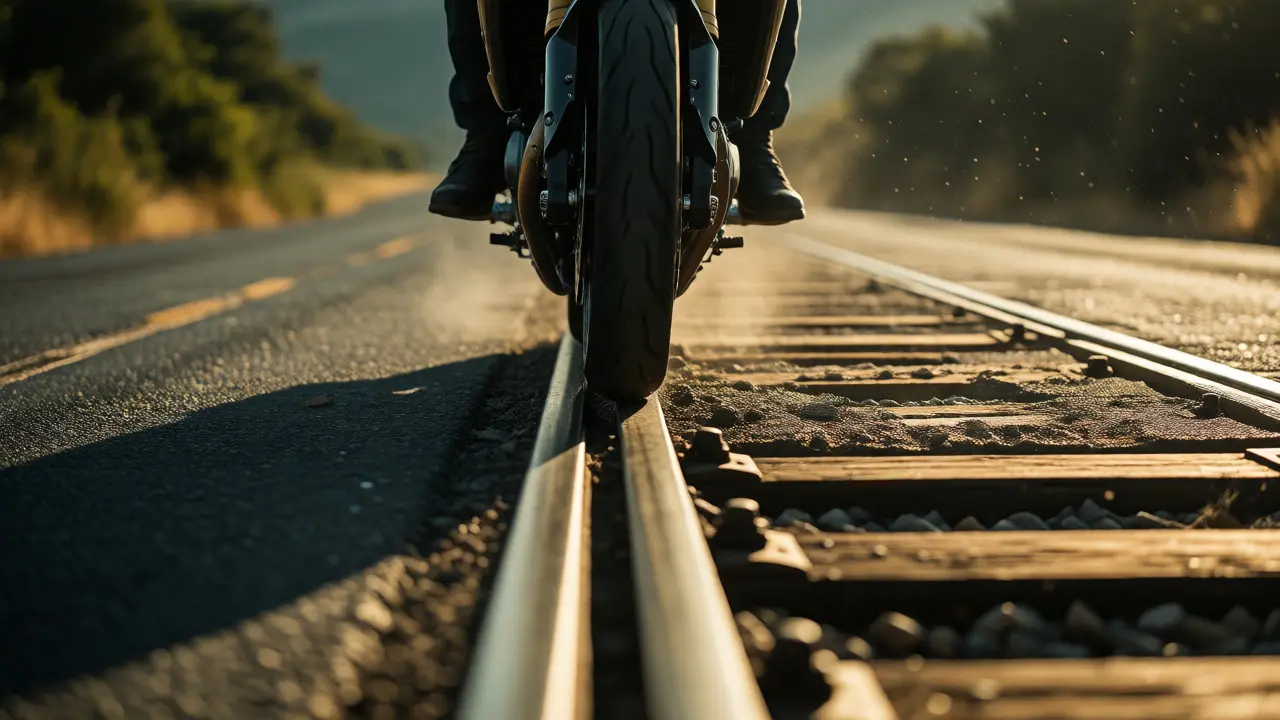
You’re cruising down a quiet backroad, the engine humming a steady rhythm, when suddenly the asphalt gives way to steel. Railroad tracks are one of the most common hazards motorcyclists face, yet they remain one of the most misunderstood. It’s not just about hitting them; it’s about how you hit them. One wrong angle or a sudden panic brake can turn a routine crossing into a trip to the hospital. The difference between a smooth glide and a high-side crash often comes down to physics, body position, and a calm mind.
Most new riders fear these obstacles because they’ve heard horror stories. But here’s the truth: railroad tracks are predictable. They don’t move, they don’t change shape mid-crossing, and they follow strict engineering standards. If you understand how your tires interact with metal rails and wooden ties, you can conquer any crossing. This guide breaks down exactly how to approach tracks, handle parallel ruts, and maintain control when things get slippery.
The Physics of Crossing: Why Angle Matters More Than Speed
Think about what happens when a car hits a pothole at a shallow angle versus straight on. At a shallow angle, the tire slides sideways. On a bike, that slide means death. When you cross railroad tracks, you want your tires to roll over the obstacle, not skid across it. The ideal angle is as close to 90 degrees (perpendicular) as possible. This minimizes the time your tire is in contact with the slick metal surface.
But life isn’t always perfect. Sometimes the road meets the track at a sharp 45-degree angle. In this scenario, slowing down is crucial, but stopping completely is dangerous. If you stop while angled on the rail, gravity will pull you off balance. Instead, reduce speed enough to maintain control, then accelerate gently through the crossing. Acceleration keeps the front wheel lifted slightly and maintains traction on the rear drive wheel, helping you clear the gap between rails.
| Condition | Recommended Action | Why It Works |
|---|---|---|
| Perpendicular Tracks | Maintain momentum, look ahead | Tires roll over cleanly; minimal lateral force |
| Sharp Angle (<45°) | Slow down, slight acceleration through | Prevents sliding; keeps suspension active |
| Wet/Rainy Tracks | Double the distance, avoid braking | Water reduces friction coefficient by up to 80% |
| Loose Gravel/Dirt | Keep throttle steady, no clutch | Prevents wheel lock-up or spin-out |
Handling Parallel Ruts: The Invisible Trap
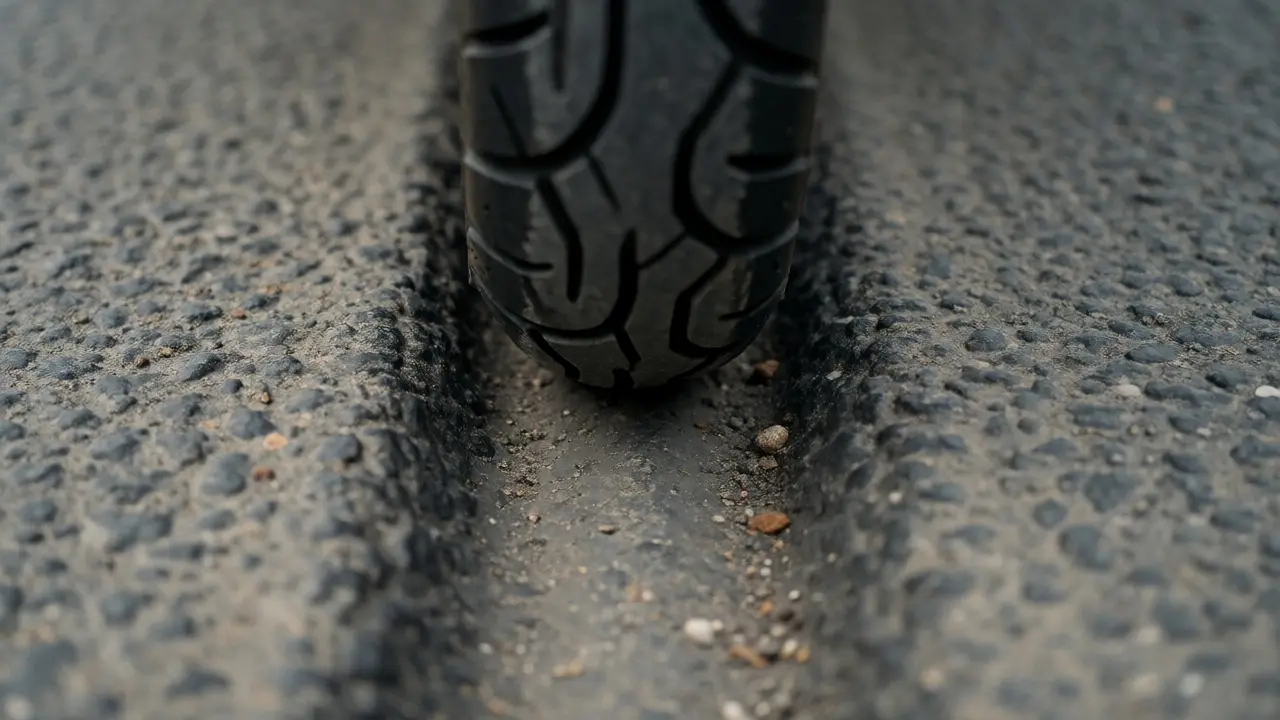
If railroad tracks are the obvious enemy, parallel ruts are the silent assassin. These grooves form where cars have driven repeatedly over soft pavement, creating two deep channels. For a car, a rut is an annoyance. For a motorcycle, it’s a steering magnet. Once your front tire drops into a rut, it wants to stay there. Trying to steer out abruptly causes the handlebars to jerk, which can throw you off the bike.
The golden rule for ruts is simple: do not fight them. If you must ride in a rut, lean with the bike and keep your arms loose. Your body weight should shift toward the inside of the turn if you’re turning, or centered if going straight. If you need to exit a rut, do it gradually. A sharp turn out of a deep groove acts like hitting a curb-you’ll lose traction instantly.
What if you encounter ruts unexpectedly? Look for the "break" in the pattern. Often, ruts fade near intersections or after fresh paving patches. Scan 10-15 seconds ahead, not just at the front wheel. Your eyes lead your hands. If you stare at the rut, you’ll likely end up in it. Look for the smooth patch of asphalt and steer toward it smoothly.
Technique Breakdown: Step-by-Step Execution
Let’s walk through a real-world scenario. You’re approaching a rural crossing with a steep grade leading up to it. Here is how you execute the crossing safely:
- Scan and Assess: Check for traffic lights, gates, and the condition of the road surface. Is there gravel? Are the rails flush or raised?
- Adjust Speed Early: Brake before the tracks, not on them. Once your tires touch the metal, your braking efficiency drops significantly.
- Body Position: Stand up slightly on the pegs if the crossing is rough. This allows your legs to act as secondary suspension. Keep your elbows bent and loose.
- Throttle Control: Maintain a steady, gentle throttle. Do not chop the gas. Sudden deceleration shifts weight forward, loading the front tire and increasing the risk of a low-side crash.
- Look Through: Fix your gaze on the exit point of the crossing. Where you look is where you go. Looking down at the tracks narrows your field of vision and increases anxiety.
This sequence works for both perpendicular and angled crossings. The key is preparation. If you wait until you’re on the tracks to decide what to do, it’s too late. Your brain needs time to process the angle and adjust your line.
Special Hazards: Wet Rails and Loose Surfaces
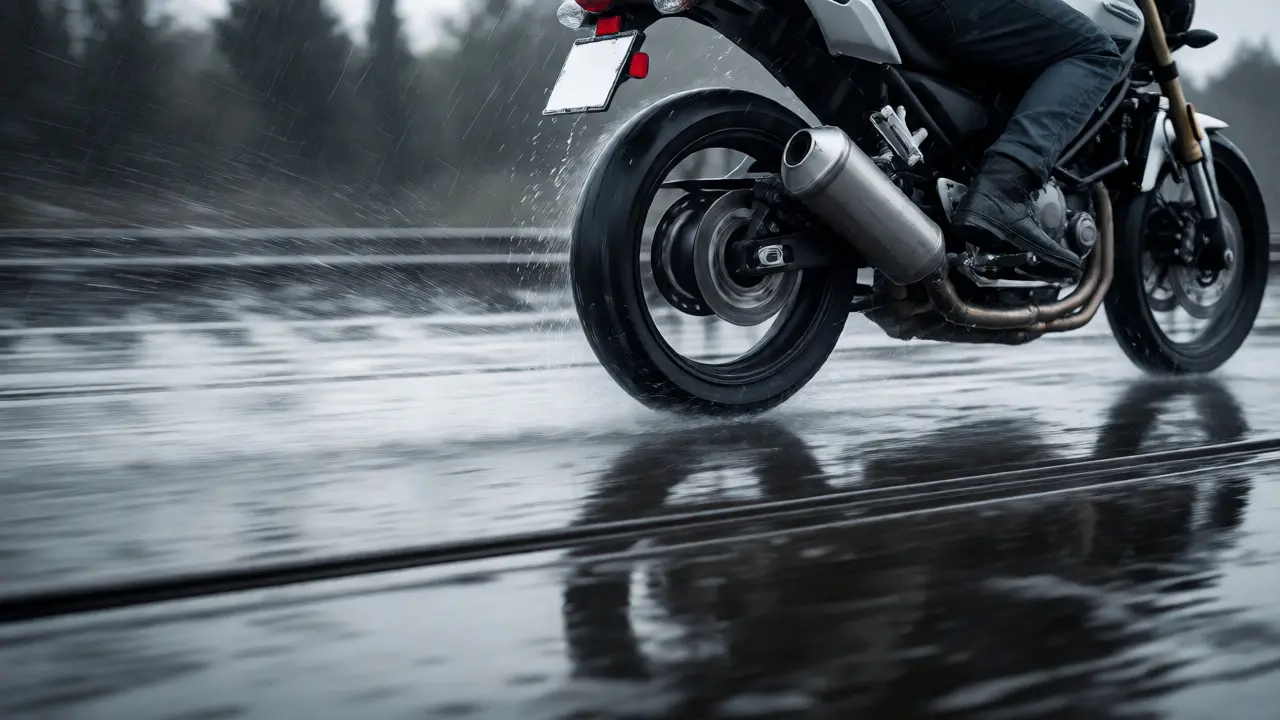
Steel is slippery when dry, but it becomes ice-like when wet. Rainwater fills the microscopic pores in the metal, reducing the friction coefficient drastically. According to data from the UK Department for Transport, motorcycle accidents involving railroad crossings spike during light rain conditions. Riders often underestimate the slipperiness, assuming their tires grip as well as they do on tarmac.
In wet conditions, treat every track like a tightrope. Avoid leaning into turns while crossing. Go straight across, even if it means taking a longer path. If you must turn, do so before or after the tracks, never on them. Additionally, watch for oil leaks from trains. Diesel fuel and hydraulic fluid often pool on the rails, creating invisible slick spots that persist long after the rain stops.
Loose gravel is another frequent companion to railroad crossings. Trains vibrate the ground, pushing dirt and stones onto the road surface. Gravel acts like ball bearings under your tires. To handle this, keep your speed moderate and avoid abrupt inputs. Smoothness is your best defense. If you feel the rear wheel start to slide, do not grab the front brake. Ease off the throttle and let the bike find its footing.
Common Mistakes That Lead to Crashes
Even experienced riders make errors when complacency sets in. The most frequent mistake is panic braking. Seeing a bump or a gate, riders instinctively squeeze the front brake. On a slick surface, this locks the front wheel, causing an immediate drop. Remember: you can steer around a problem, but you can’t steer a locked wheel.
Another error is looking down. It sounds trivial, but head position dictates bike stability. When you look down at your front fender or the tracks, your shoulders tense up, and your steering input becomes jerky. Lift your chin. Look far ahead. This engages your peripheral vision and helps you anticipate changes in surface texture.
Finally, many riders forget to check their tire tread. Worn tires have less ability to channel water away from the contact patch. On a railroad crossing, where water pools easily, worn tires are a recipe for disaster. Inspect your tread depth regularly. If you’re below 2mm, replace them before tackling rainy commutes.
Pro Tips for Confidence Building
Confidence comes from competence, and competence comes from practice. You don’t need to seek out dangerous crossings to train. Find an empty parking lot with painted lines or small curbs. Practice crossing them at different angles and speeds. Notice how the bike reacts when you accelerate versus when you coast.
- Practice Eye Discipline: Drill yourself to look at the horizon, not the ground.
- Simulate Rough Roads: Ride over speed bumps at varying speeds to learn how your suspension handles impacts.
- Check Your Suspension: Ensure your preload and damping are set correctly for your weight. A sagging rear shock will bottom out on tracks, transferring impact directly to your spine.
Remember, motorcycle safety isn’t about avoiding all risks; it’s about managing them intelligently. Railroad tracks are part of the landscape. By respecting their geometry and adjusting your technique, you turn a potential hazard into a non-event.
Should I stand up on the pegs when crossing railroad tracks?
Yes, standing slightly on the pegs is highly recommended, especially on rough or uneven crossings. It allows your knees and ankles to absorb shocks, preventing the impact from jarring your upper body and disrupting your steering balance. Keep your elbows bent and relaxed to maintain control.
What is the safest speed for crossing railroad tracks?
There is no single magic number, but generally, 15-25 mph is safe for most standard crossings. The key is to enter at a speed where you can maintain a steady throttle without needing to brake or accelerate aggressively once you are on the tracks. Adjust based on weather and surface condition.
Can I use the front brake while on the tracks?
It is best to avoid using the front brake while your tires are on the metal rails. Steel offers significantly less friction than asphalt, so hard braking can cause the front wheel to lock and slide. Brake before the tracks, then maintain a constant speed or slight acceleration through the crossing.
How do I handle parallel ruts without losing control?
Do not fight the ruts. Keep your arms loose and allow the bike to follow the groove. If you need to exit, do so gradually with a smooth, wide turn. Abrupt steering inputs will cause the tire to catch the edge of the rut, potentially leading to a crash. Look for smoother pavement ahead and steer toward it gently.
Are wet railroad tracks more dangerous than dry ones?
Yes, wet tracks are significantly more dangerous due to reduced friction. Water creates a lubricating layer between the tire and the steel rail. In wet conditions, increase your following distance, avoid leaning while crossing, and be extra cautious of oil spills which often accompany wet tracks.