
There is nothing worse than pulling up to a stoplight and realizing your front brake lever feels like rubber. That spongy sensation usually means air has entered the hydraulic system. Air compresses; brake fluid does not. When you squeeze that lever, you are pushing air bubbles around instead of clamping down on the rotor. Fixing this requires **motorcycle brake bleeding**, a process that swaps old, contaminated fluid for fresh liquid while kicking those air pockets out.
You don't need a degree in engineering to do this, but you do need to understand which tool fits your situation. Whether you are working alone in a garage with no fancy gear or running a busy shop with time constraints, there are three main ways to get the job done: gravity, vacuum, and pressure. Each method has its own logic, speed, and risk profile. Let’s break down how they work so you can choose the right one for your bike.
The Basics: Why Brakes Need Bleeding
Before picking a tool, it helps to understand what is actually happening inside your calipers. Motorcycle brakes use a closed hydraulic loop. When you pull the lever, master cylinder pushes brake fluid, which is a specialized hydraulic fluid designed to transfer force without compressing. This fluid travels through steel braided lines or rubber hoses to the caliper pistons.
Air gets into this system during routine maintenance-like changing pads or replacing a line-or slowly over years as seals degrade slightly. Since air is compressible, it acts like a shock absorber where you want rigid force. The goal of bleeding is simple: create a flow direction that moves fluid from the master cylinder toward the lowest point (the caliper) and out the bleed nipple, carrying air with it.
| Method | Tools Needed | Speed | Skill Level | Best For |
|---|---|---|---|---|
| Gravity | Bleed tube, jar, wrench | Slow (15-30 mins) | Low | Solo riders, tight budgets |
| Vacuum | Hand pump bleeder kit | Medium (5-10 mins) | Medium | Home mechanics, occasional use |
| Pressure | Pressurized reservoir tool | Fast (2-5 mins) | High | Shops, complex ABS systems |
Gravity Bleeding: The Patient Approach
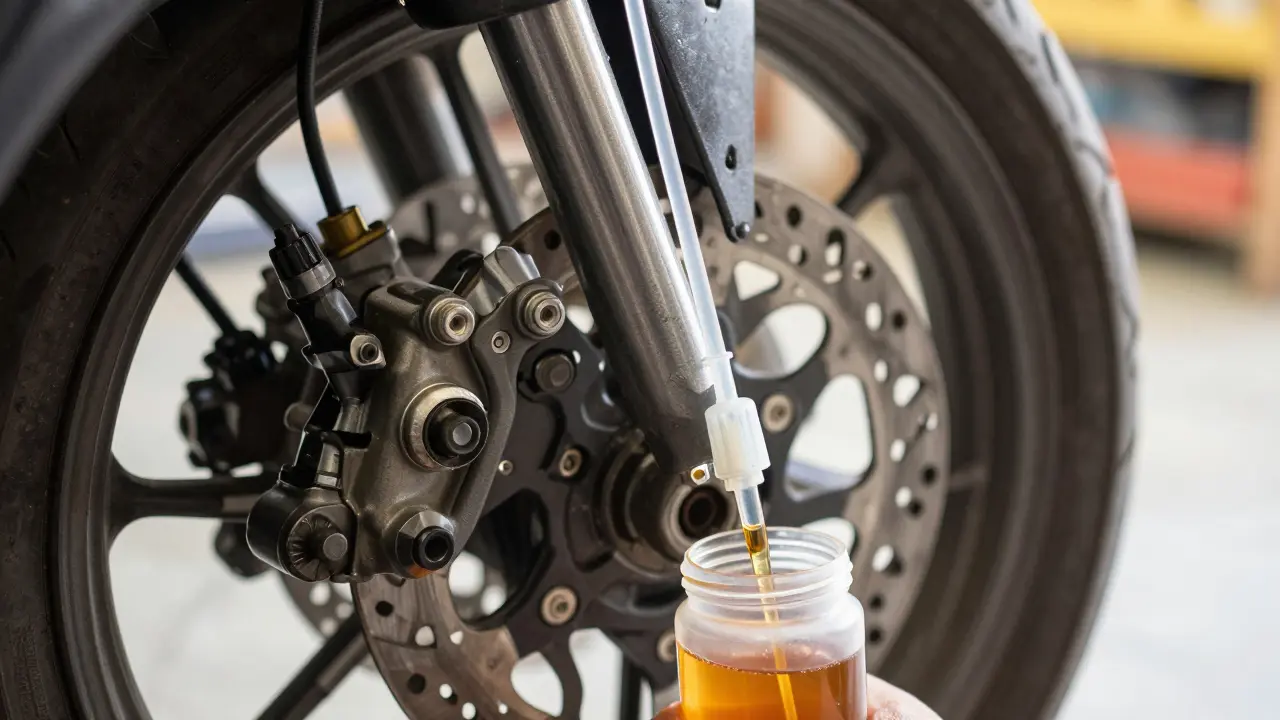
Gravity bleeding is the oldest technique and arguably the safest for beginners. It relies entirely on physics rather than mechanical force. You fill the master cylinder reservoir to the top, attach a clear tube to the bleed nipple, submerge the other end in a container of fresh fluid, and open the valve. Fluid flows out naturally due to gravity, dragging air bubbles with it.
The key here is patience. Because there is no external suction or pressure, the flow is slow. If you rush it, you might suck air back into the system when the fluid level drops too low. You must keep an eye on the reservoir constantly. Every few seconds, close the nipple, check the level, top it off, and repeat.
This method shines because it minimizes turbulence. Aggressive pumping can sometimes trap air bubbles deep within the banjo bolts or caliper ports. Gravity lets them rise gently to the surface and escape. It is ideal if you are working alone and have limited tools. However, it takes longer, and if your brake lines are long or kinked, gravity alone might not be enough to push stubborn bubbles out.
- Pros: No special equipment needed, very gentle on seals, low risk of introducing new air.
- Cons: Time-consuming, requires constant monitoring of fluid levels, may struggle with trapped air in high points.
Vacuum Bleeding: The Solo Mechanic’s Favorite
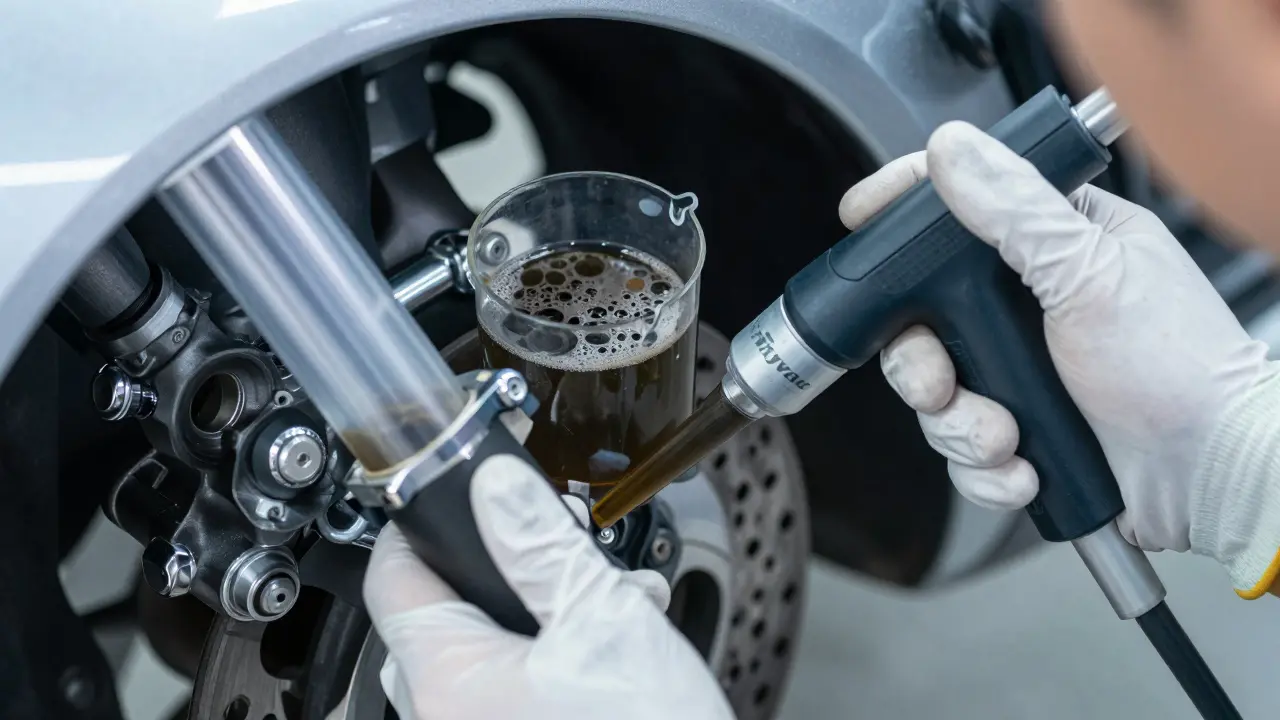
If gravity feels too slow, vacuum bleeding is the next step up. This method uses a handheld pump-often called a mityvac-to create negative pressure at the bleed nipple. Instead of waiting for fluid to drip out, you actively pull it through the system. This allows one person to operate both the brake lever and the bleed valve simultaneously.
Here is how it works: you connect the vacuum device to the bleed screw via a clear hose. You pump the handle to create suction, then have a helper squeeze the brake lever (or use a clamp to hold it if working solo). As the lever goes down, fluid flows toward the vacuum source. When the lever returns, the check valve prevents air from being sucked back into the caliper.
This approach is faster than gravity and gives you better control over the flow rate. You can see exactly when the fluid turns clear and free of bubbles. It is particularly useful for bikes with complex routing where air tends to hide. Just be careful not to create too much vacuum, which could collapse soft rubber hoses or damage sensitive seals. Most kits come with a pressure gauge to help you stay in the safe zone.
- Pros: Faster than gravity, allows solo operation, good visibility of fluid quality.
- Cons: Requires purchasing a specific tool, risk of sucking debris into the system if filters aren't used, potential for hose collapse.
Pressure Bleeding: Speed and Precision
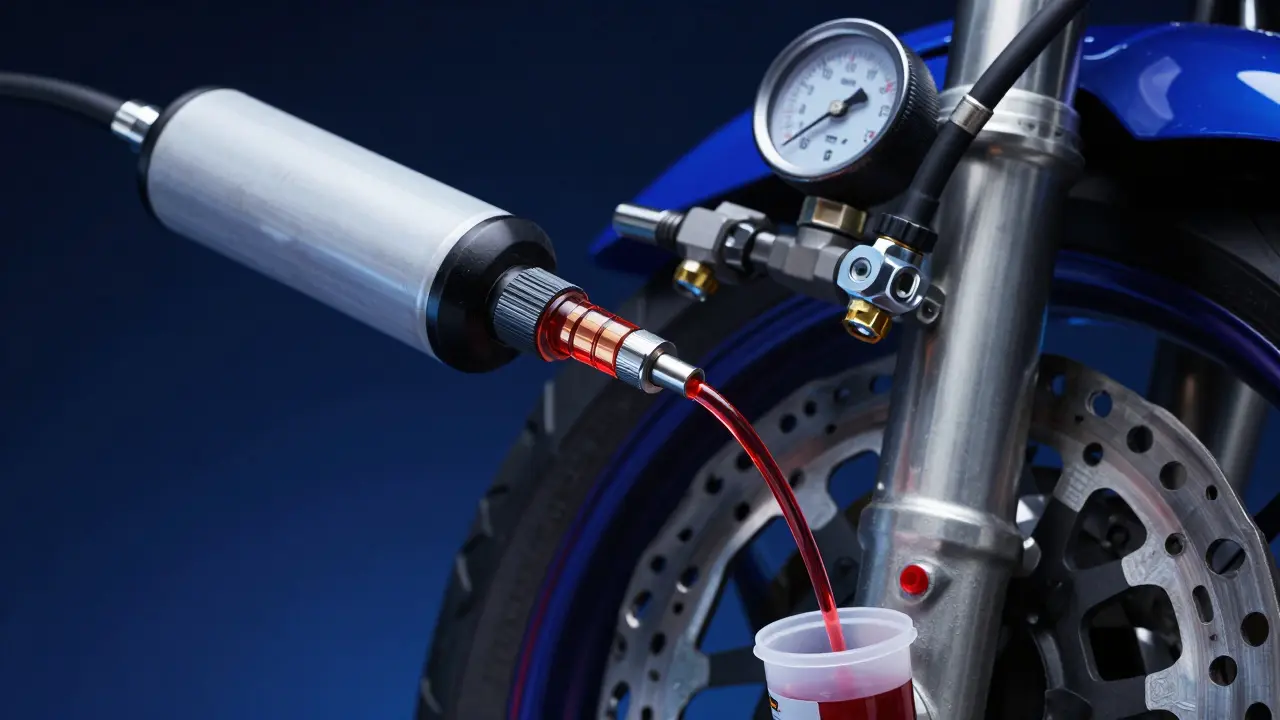
Pressure bleeding is the professional’s choice. Instead of pulling fluid out, you push it in. A pressurized canister replaces the master cylinder reservoir or connects directly to it. By inflating the canister with air (usually to 10-15 PSI), you force fluid through the entire system continuously.
This method is incredibly efficient. You simply open the bleed nipple, and fluid shoots out under constant pressure. Close it when you’re done. No pumping, no waiting for gravity, no fear of running dry because the pressure keeps the reservoir topped up automatically. It is especially valuable for motorcycles with Anti-lock Braking Systems (ABS), where air can get trapped in the modulator unit. The consistent pressure helps purge these hard-to-reach areas.
However, pressure bleeding carries higher risks. If you exceed the recommended PSI, you can blow seals, crack the master cylinder, or rupture brake lines. It also requires more expensive equipment. For a home mechanic doing this once a year, the cost might not justify the benefit. But if you service multiple bikes or deal with difficult ABS setups, it pays for itself quickly.
- Pros: Fastest method, excellent for ABS systems, continuous flow reduces air re-entry.
- Cons: Expensive tools, high risk of damaging components if misused, overkill for simple jobs.
Choosing the Right Brake Fluid
Your bleeding method matters, but the fluid you use matters just as much. Not all brake fluids are created equal. You will typically see two standards: DOT (Department of Transportation) and JIS (Japanese Industrial Standards).
DOT 4 fluid is a glycol-based hydraulic fluid common in most street motorcycles. It has a higher boiling point than DOT 3, making it suitable for spirited riding. DOT 5.1 is even higher performance but remains glycol-based. Never mix DOT fluids with silicone-based ones.
DOT 5 fluid is a silicone-based brake fluid that repels water but is incompatible with standard glycol systems. Using DOT 5 in a bike designed for DOT 4 will destroy seals and cause catastrophic failure. Always check your owner’s manual. Mixing fluids creates a chemical reaction that forms sludge, clogging valves and ruining your braking power.
Freshness counts too. Brake fluid is hygroscopic, meaning it absorbs moisture from the air over time. Old fluid boils at lower temperatures, leading to vapor lock during heavy braking. Even if your brakes feel fine, changing fluid every two years is a smart preventive measure.
Step-by-Step: The Universal Bleeding Process
Regardless of the method, the core steps remain similar. Here is a safe workflow to follow:
- Clean the area: Dirt entering the brake system is disastrous. Wipe the master cylinder and caliper nipples clean before starting.
- Prepare your workspace: Lay down rags. Have fresh fluid ready. Ensure your catch container is clean.
- Position the bike: Keep the motorcycle upright unless the manual specifies otherwise. Some bikes require the front wheel off the ground to align the master cylinder correctly.
- Connect your tool: Attach the bleed tube, vacuum pump, or pressure canister securely.
- Purge the air: Follow the specific method instructions. Watch for bubbles in the clear tube. Stop only when the fluid runs clear and bubble-free.
- Top off and seal: Fill the reservoir to the MAX line. Replace the cap tightly.
- Test carefully: Pump the lever several times. It should feel firm. Do not ride at speed until you have tested the brakes at low speeds in a safe area.
Troubleshooting Common Issues
Sometimes, despite your best efforts, the lever stays spongy. What gives?
First, check for leaks. A tiny leak at a banjo bolt can let air in faster than you can bleed it out. Tighten fittings to the manufacturer's torque specification. Over-tightening strips threads; under-tightening causes leaks.
Second, consider the master cylinder piston. If the seal inside the master cylinder is worn, it won’t generate enough pressure to move fluid effectively. You might need to rebuild the master cylinder.
Third, look for internal blockages. Corrosion inside old brake lines can restrict flow. If bleeding doesn’t improve things, inspect the lines for swelling or discoloration. Steel-braided lines last longer but still degrade over time.
Can I bleed my motorcycle brakes alone?
Yes, using either gravity or vacuum methods. Gravity bleeding is slower but requires no extra tools beyond a tube and jar. Vacuum bleeding kits often include a clamp to hold the brake lever, allowing you to operate the pump and valve by yourself. Pressure bleeding can also be done solo if you have the right adapter.
How often should I change motorcycle brake fluid?
Most manufacturers recommend changing brake fluid every two years. However, if you ride aggressively, track your bike, or live in a humid climate, annual changes are safer. Moisture absorption lowers the boiling point, increasing the risk of brake fade.
What happens if I get brake fluid on my paint?
Brake fluid is highly corrosive to automotive paint. Wipe it off immediately with a damp cloth. If it sits for more than a few minutes, it can etch the clear coat permanently. Keep a bottle of water nearby to rinse spills instantly.
Is pressure bleeding safe for ABS-equipped motorcycles?
Yes, and it is often the preferred method for ABS systems. The consistent pressure helps purge air trapped in the ABS modulator. However, you must use the correct PSI (usually 10-15 PSI) and follow the specific procedure outlined in your service manual to avoid damaging electronic components.
Why does my brake lever still feel spongy after bleeding?
This usually indicates remaining air, a leaking seal, or a worn master cylinder piston. Double-check all connections for tightness. If the lever sinks slowly when held down, you likely have a leak. If it feels firm initially but fades, air may still be trapped in high points of the system.