
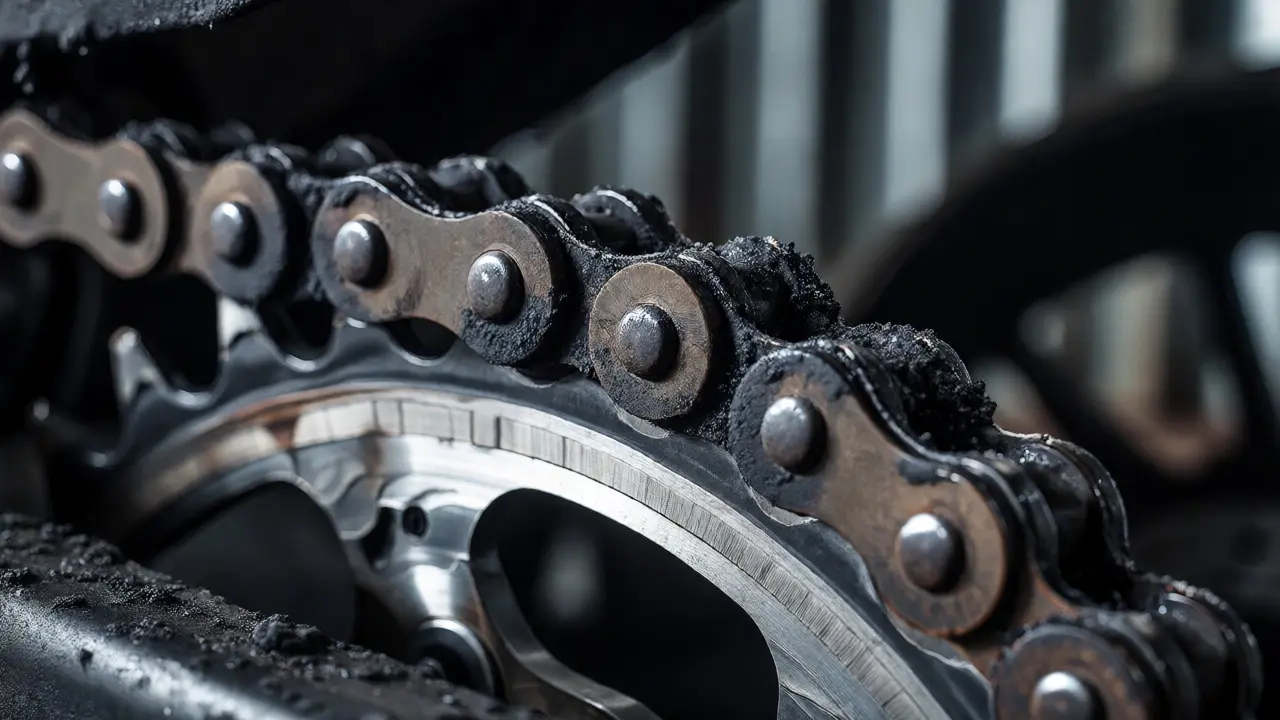
There is nothing quite like the sound of a well-maintained motorcycle engine purring down the road. But that smooth ride can quickly turn into a noisy, jerky mess if you ignore one critical component: your drive chain. This humble link of metal connects your rear wheel to the engine, transferring power with brutal efficiency. Yet, it lives in a hostile environment-splashed with rain, coated in grit, and subjected to immense torque every time you twist the throttle. If you neglect it, you’re not just risking a snapped chain on the motorway; you’re shortening the life of your expensive sprockets and wasting fuel.
Most riders treat their chains as an afterthought, only noticing them when they start clattering or looking rusty. That’s a mistake. Proper motorcycle chain maintenance isn’t rocket science, but it does require consistency and the right technique. Whether you ride a sportbike on weekends or commute daily through city traffic, keeping your drive train in top shape saves money and prevents breakdowns. Let’s break down exactly how to clean, lube, and adjust your chain so it lasts thousands of miles.
Why Your Chain Needs Regular Attention
Think of your chain as the heart of your bike’s transmission system. It works in tandem with the front and rear sprockets. When these three components-the chain and two sprockets-are new, they mesh perfectly. Over time, however, friction wears them down. The pins and rollers inside the chain stretch slightly, and the teeth on the sprockets wear into hook shapes. If you don’t manage this process, the chain won’t sit correctly on the sprocket teeth, leading to accelerated wear and potential failure.
Neglect doesn’t just mean buying a new chain sooner. A dry, dirty chain creates significant drag. You might notice your fuel economy dropping because the engine has to work harder to overcome that internal friction. Worse, a loose chain can slap against the swingarm, damaging paint or even cracking the frame mount. Conversely, a chain that is too tight puts excessive stress on the final drive bearings and the gearbox output shaft. These parts are far more expensive to replace than a $30 tube of chain lube.
The Right Tools for the Job
You don’t need a full mechanic’s garage to do this. In fact, most of what you need is probably already in your shed or car boot. Here is what you should have ready before you start:
- Chain Cleaner: Avoid petrol or diesel if possible. They strip away the factory grease from inside the O-rings (the rubber seals between plates), which kills the chain from the inside out. Use a dedicated chain cleaner or kerosene, which is gentler on seals.
- A Stiff Brush: An old toothbrush works for small bikes, but a proper nylon-bristled chain brush makes scrubbing much faster.
- Lint-Free Rags: Paper towels often leave fibers behind. Old cotton t-shirts are perfect.
- Stand or Lift: You need the rear wheel off the ground to rotate the chain freely. A paddock stand or a center stand (if your bike has one) is essential.
- Wrenches: Usually a spanner that fits your axle nut and adjuster lock nuts.
- Tape Measure or String: For checking tension.
- Gloves: Chain grime is black, sticky, and smells terrible. Protect your hands.
Cleaning: The Dirty Work
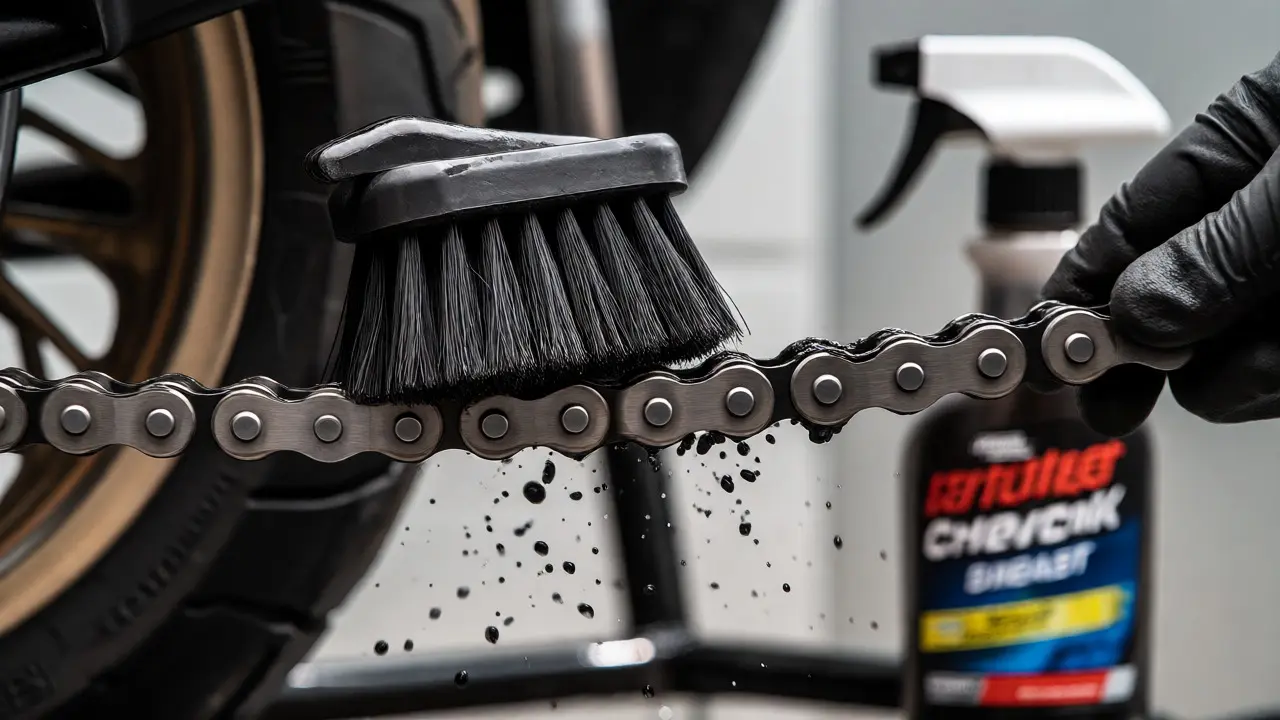
Start by putting your bike on its stand so the rear wheel can spin. Have someone help you shift into first gear and slowly roll the bike forward while you spray the cleaner onto the lower run of the chain. Alternatively, you can put the bike in neutral and manually pull the chain around with your gloved hand, spraying as you go. Do not skip sections.
Once the chain is wet with cleaner, take your brush and scrub each roller and plate. Focus on getting the gunk out from between the links. You’ll be surprised at how much black sludge comes off, especially if you haven’t cleaned it in a few months. After scrubbing, use your rags to wipe the chain down thoroughly. You want it dry and free of solvent residue before applying any new lubricant. If there is leftover cleaner, it will dilute your fresh lube, making it less effective.
| Agent | Effectiveness | Safety for O-Rings | Drying Time |
|---|---|---|---|
| Petrol/Diesel | High | Low (strips internal grease) | Fast |
| Kerosene | Medium-High | High | Medium |
| Dedicated Chain Cleaner | High | Very High | Fast |
| WD-40 Specialist | Medium | Medium | Fast |
Lubricating: Less Is More
Here is where many riders go wrong. They think more lube equals better protection. It doesn’t. Excess lube acts as a magnet for dirt and sand. Once that abrasive mix gets stuck on the outside of the chain, it starts grinding against the sprocket teeth like sandpaper.
Apply your chosen chain lubricant to the inner side of the chain, specifically targeting the gap between the plates and the rollers. This is where the O-rings live and where friction happens. Spin the wheel slowly to distribute the oil evenly along the entire length. Let it soak in for about ten minutes. Then, and this is crucial, take a clean rag and wipe off all excess lube from the outside of the chain. The chain should look slightly damp, not dripping. If it looks shiny and wet, you’ve used too much.
For those living in wet climates like Bristol, consider using a wax-based lube. It tends to throw off less than oil-based sprays and stays cleaner longer, though it requires more frequent application. Oil-based lubes are better for long-distance touring where durability matters more than cleanliness.
Adjusting Tension: Finding the Sweet Spot
Chain tension changes as the suspension moves. When you sit on the bike, the swingarm pivots, pulling the rear wheel back and tightening the chain. Therefore, you must check tension under load or according to your manual’s specific instructions. Most manufacturers specify a "slack" measurement-usually between 25mm and 40mm (1 to 1.5 inches)-at the midpoint of the lower run of the chain.
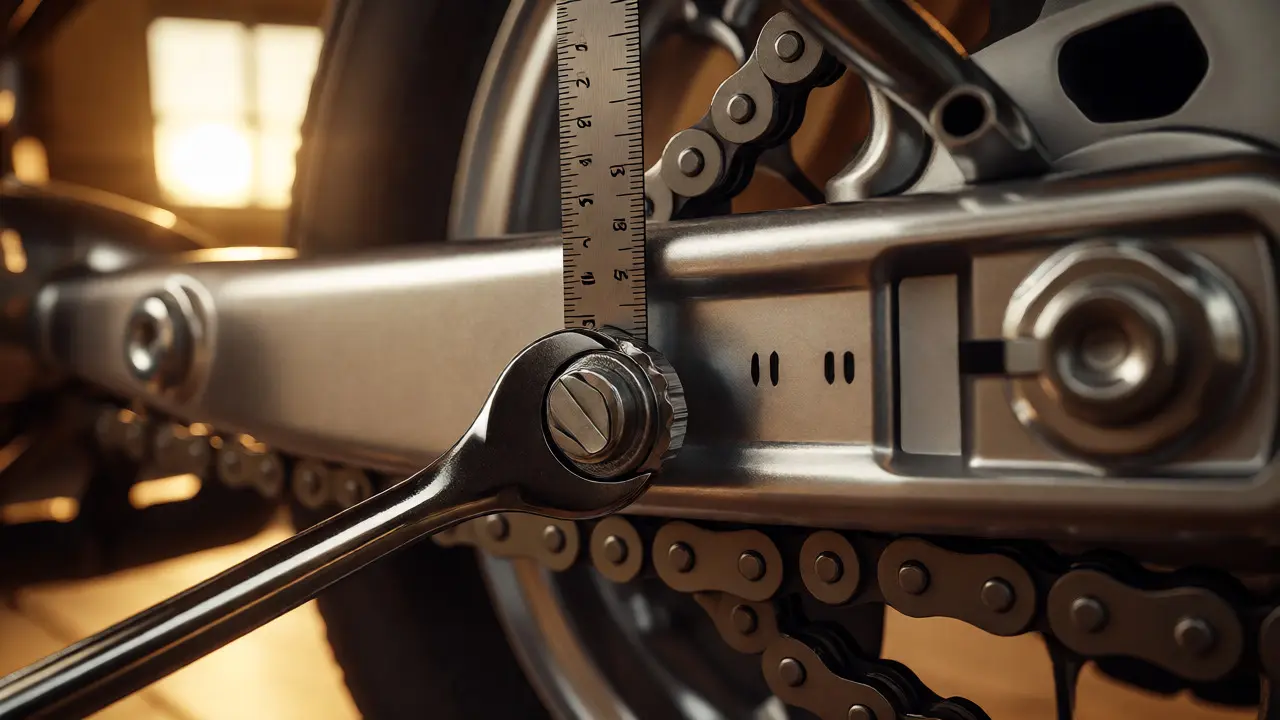
To adjust, loosen the rear axle nut slightly. Do not remove it. Locate the adjuster bolts on either side of the swingarm. Turning these bolts clockwise usually pulls the axle back, tightening the chain. Turn them counter-clockwise to loosen. Always adjust both sides equally to keep the wheel aligned. Misalignment causes uneven tire wear and poor handling.
Use a ruler or a piece of string to measure the slack. Press up on the bottom section of the chain until it stops moving, then press down until it stops. The distance between these two points is your slack. Check this at several points around the circumference of the chain. Chains rarely wear evenly; some links will be tighter than others due to past impacts or manufacturing variances. Set your tension based on the tightest spot to ensure the chain never becomes too tight during rotation.
Signs It’s Time for Replacement
Even with perfect maintenance, chains eventually die. How do you know when to swap it out? Look for stiff links. Grab the chain near the front sprocket and try to move it side-to-side. If it feels rigid or won’t snap back straight, the O-rings are dead, and the internal parts are worn. Another clear sign is visible wear on the sprocket teeth. New teeth are symmetrical and pointed. Worn teeth look like shark fins or hooks. If you see hooked teeth, replacing just the chain is a waste of money. The new chain will slip on the old sprockets immediately. Replace the chain and both sprockets together.
A general rule of thumb is to inspect your chain every 500 to 600 miles. Clean and lube it every 300 to 500 miles, or after riding in the rain. Adjust tension every 1,000 miles or whenever you notice noise. Following this schedule ensures you catch problems before they become emergencies.
How often should I clean my motorcycle chain?
You should clean and lubricate your chain every 300 to 500 miles, or immediately after riding in wet or dusty conditions. Regular cleaning prevents abrasive grit from accelerating wear on the sprockets and chain links.
Can I use WD-40 as chain lube?
Standard WD-40 is primarily a solvent and water displacer, not a long-term lubricant. It can wash away existing grease and evaporates quickly. While it cleans well, you should follow it with a proper chain-specific lubricant for lasting protection.
What happens if my chain is too tight?
A chain that is too tight places excessive strain on the final drive bearings, the gearbox output shaft, and the rear wheel hub. This can lead to premature bearing failure and uncomfortable riding, as the suspension cannot absorb shocks effectively.
Do I need to replace the sprockets when I change the chain?
It is highly recommended to replace the front and rear sprockets along with the chain. A new chain will not mesh correctly with worn sprocket teeth, leading to rapid wear and potential skipping. Replacing all three components ensures optimal performance and longevity.
Is it safe to ride with a slightly loose chain?
Riding with a loose chain is risky. It can slap against the swingarm, causing cosmetic damage, or worse, jump off the sprocket and jam the rear wheel. If the chain exceeds the manufacturer's maximum slack specification, adjust it before riding.
Comments
alex kobri
the chain is the most honest part of the bike
it does not lie about your maintenance habits
if you ignore it it screams at you in metal-on-metal friction
i think we underestimate how much torque passes through those small links
every twist of the throttle is a negotiation between steel and rubber
when that negotiation fails the cost is not just money but safety
a snapped chain on the highway is a sudden loss of control
people focus on engine power but forget the transmission path
it is a simple system yet requires constant attention
consistency beats intensity every single time
do not wait for the noise to start cleaning
by then the damage is already done
treat the chain with respect and it will carry you far
September 17, 2026 at 04:32
Tamara Miller
I cannot believe people still use petrol! It strips the O-rings so fast. You are literally killing your own wallet by being lazy with cleaners. Kerosene or dedicated cleaner only please. If you don't do this correctly you deserve to buy new sprockets early.
September 18, 2026 at 05:02
Anthony Miller
Listen here, you lot. I have seen too many riders ruining their bikes with ignorance. Using standard WD-40 as a lubricant is absolute nonsense. It evaporates. It leaves the chain dry within hours. You need proper wax or oil-based lube. Stop cutting corners. Your bearings will fail if you keep this up. Fix it now or pay later.
September 19, 2026 at 23:27
michelle veluz
OMG!!! Wait until you see what happens when they try to sell you "premium" chain lube at the dealership??? They charge double for the same stuff you can get online!!! And don't even get me started on the "professional" mechanics who over-tighten chains just to make them look clean... they are probably working for the tire companies to make you wear out tires faster!!! It's all connected!!! The conspiracy runs deep!!! Do not let them fool you!!! Check the tension yourself!!! Always!!! Never trust the shop!!!
September 21, 2026 at 09:28
Susan Cole
I appreciate the reminder to check tension under load. I usually forget to sit on the bike before measuring and end up with a tight spot that causes weird handling issues. Simple advice but easy to overlook.
September 22, 2026 at 13:47
Savara Gunn
Hey there! Just wanted to say great guide. For anyone nervous about getting their hands dirty, old cotton t-shirts are truly the best hack for wiping off excess lube. Don't stress if it looks messy at first; you'll get the hang of it quickly. Keep it simple and consistent!
September 22, 2026 at 17:08
Zach Loescher
This is helpful context regarding the fuel economy impact. I never considered the drag from a dry chain affecting mileage significantly. It makes sense though given the mechanical resistance involved. Curious if anyone has measured actual mpg differences after a thorough cleaning versus neglect?
September 24, 2026 at 00:18
Deb Kortyna, MBA
The article posits that regular maintenance prevents costly repairs, which is an undeniable fact.
However, one must consider the psychological aspect of rider behavior. Most individuals procrastinate on this task due to the perceived complexity and messiness involved.
By simplifying the process into clear steps-cleaning, lubricating, and adjusting-we reduce the barrier to entry for routine care.
Furthermore, the emphasis on using appropriate solvents rather than harsh petroleum products demonstrates a nuanced understanding of material science.
O-ring integrity is paramount for longevity, and compromising it leads to premature failure.
The correlation between chain slack and frame damage is also critical to note.
Excessive slack causes impact loading on the swingarm, which can lead to structural fatigue over time.
Conversely, overtightening places undue stress on the final drive components.
Balancing these factors requires precision and attention to detail.
Riders should adopt a proactive rather than reactive approach to maintenance.
Documenting service intervals helps establish a reliable routine.
Ultimately, the condition of the drive train reflects the overall health of the motorcycle.
A well-maintained chain ensures efficient power transfer and enhances riding comfort.
Neglecting this component is a false economy that often results in higher long-term costs.
We must prioritize education and awareness to improve general maintenance standards among riders.
September 24, 2026 at 23:26