
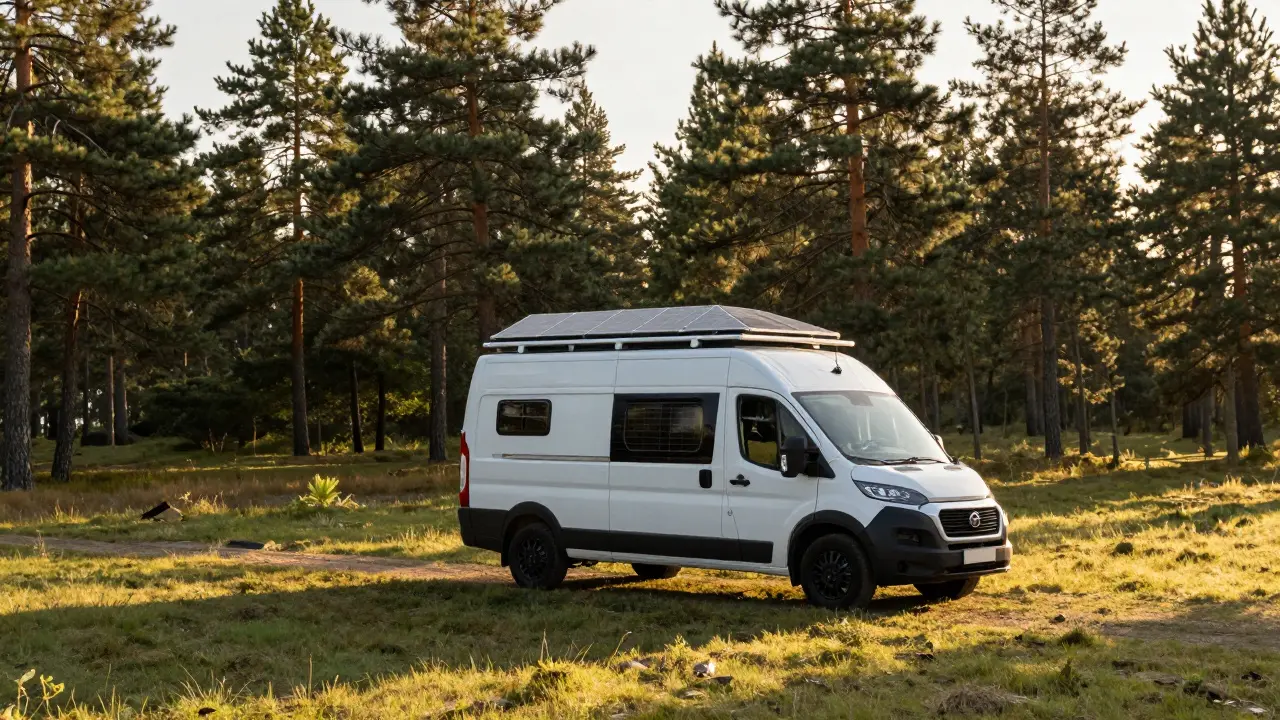
There is nothing quite like the silence of a campsite at night, broken only by the wind in the trees. But that peace can vanish instantly when your phone hits 1% and you realize you haven't charged it because there’s no grid connection nearby. If you are living in a van or planning to, electricity is not just a luxury; it is your lifeline. It keeps your fridge running, your lights on, and your devices charged so you can work remotely or stay connected with family.
Installing a solar panel system on your van roof might sound like an engineering degree requirement, but it really isn’t. You don’t need to be an electrician to do this job safely and effectively. With the right tools, a clear plan, and a bit of patience, you can build a reliable off-grid power source that lasts for years. This guide will walk you through every step, from calculating your needs to tightening the final bolt.
Calculating Your Power Needs
Before you buy a single wire, you need to know exactly how much power you consume. Most people make the mistake of buying panels based on what they *think* they need, rather than what they actually use. This leads to either overspending on unnecessary equipment or underpowering your system and being stuck without energy.
Start by listing every device you run in your van. Include your refrigerator, laptop, phone chargers, LED lights, water pump, and even small appliances like a coffee maker if you use one. For each item, find the wattage rating (usually printed on the device or its charger). Multiply that number by the hours you use it per day to get watt-hours (Wh).
- Refrigerator (12V compressor): 50 watts × 8 hours = 400 Wh
- Laptop: 60 watts × 4 hours = 240 Wh
- LED Lights: 10 watts × 3 hours = 30 Wh
- Phone Chargers: 10 watts × 2 hours = 20 Wh
In this example, your daily consumption is 690 Wh. To account for inefficiencies in conversion (from DC to AC via an inverter) and cloudy days, add a 20-30% buffer. So, aim to generate around 850-900 Wh per day. This number dictates the size of your solar array and battery bank.
Choosing the Right Components
A complete solar system consists of four main parts: solar panels, a charge controller, batteries, and an inverter (if you need AC power). Getting these right is crucial for safety and performance.
| Component | Type A | Type B | Best For |
|---|---|---|---|
| Solar Panels | Rigid Monocrystalline | Flexible Thin-Film | Rigid for flat roofs; Flexible for curved roofs |
| Batteries | Lithium Iron Phosphate (LiFePO4) | Flooded Lead-Acid | LiFePO4 for longevity and weight savings |
| Charge Controller | PWM (Pulse Width Modulation) | MPPT (Maximum Power Point Tracking) | MPPT for higher efficiency, especially in cold/cloudy weather |
| Inverter | Pure Sine Wave | Modified Sine Wave | Pure Sine for sensitive electronics like laptops |
LiFePO4 batteries are the gold standard for modern vans. They weigh half as much as lead-acid batteries, last twice as long, and can be discharged to 80-90% capacity without damage. While the upfront cost is higher, the total cost of ownership is lower over five years.
For the charge controller, always choose MPPT over PWM. An MPPT controller acts like a smart translator between your panels and batteries, squeezing out up to 30% more power by optimizing voltage levels. This is particularly important in the UK, where sunlight isn’t always abundant.
Preparing the Roof Surface
The foundation of your installation is a clean, dry roof. If you skip this step, your sealant won’t stick, and water will leak into your van, causing mold and structural damage. Start by washing the roof thoroughly with soap and water. Once dry, wipe the area down with rubbing alcohol to remove any oils or residues.
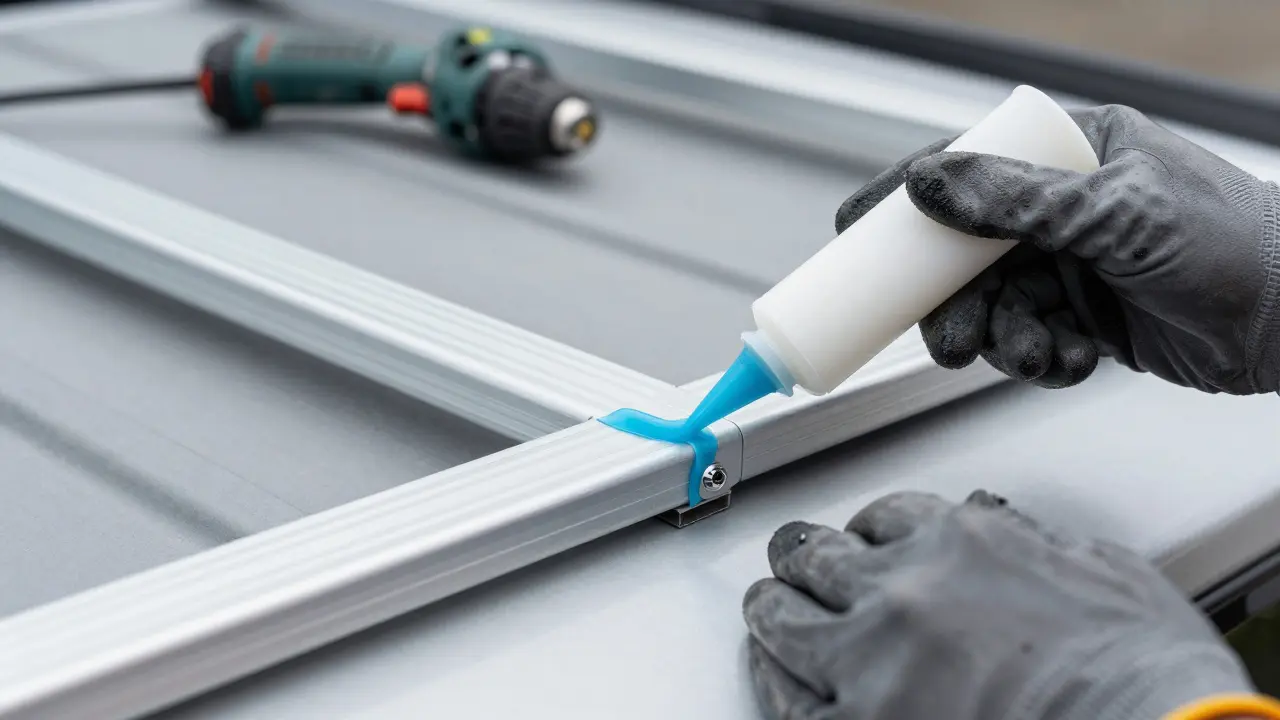
If you are using rigid panels, you’ll likely need to build mounting rails. These are typically made from aluminum extrusions. Measure your roof carefully and mark where the rails will go. Ensure they align with the internal roof beams for maximum strength. Drill pilot holes through the roof and into the beams below. Use a drill bit slightly smaller than your screws to ensure a tight fit.
Apply a generous bead of marine-grade silicone sealant along the top of the roof where the rails will sit. Press the rails firmly into place and clamp them down while the silicone cures. This creates a watertight barrier before you even attach the panels.
Mounting the Solar Panels
Once your rails are secure, it’s time to mount the panels. For rigid panels, use stainless steel bolts and washers. Place a washer under each bolt head and nut to distribute pressure evenly and prevent cracking the glass. Tighten the bolts securely, but don’t overtighten, as this can stress the panel frame.
If you’re using flexible panels, you’ll rely on adhesive. Apply a high-quality epoxy or polyurethane adhesive in a zigzag pattern across the back of the panel. Press the panel onto the roof, ensuring full contact. Some installers also use trim strips around the edges to protect the wiring and give a cleaner look.
Pay close attention to the orientation of the panels. In the Northern Hemisphere, facing south maximizes sun exposure. However, since vans move, a fixed south-facing angle isn’t always possible. A flat mount is usually sufficient, as the sun moves across the sky throughout the day.
Wiring and Electrical Connections
This is the most critical part of the process. Incorrect wiring can lead to fire hazards or damaged components. Always disconnect the negative terminal of your battery before starting any work.
- Run wires from the roof: Drill a hole through the roof near the edge of your panel array. Feed the positive (red) and negative (black) wires through the hole. Seal the hole immediately with self-amalgamating tape or a rubber grommet to prevent leaks.
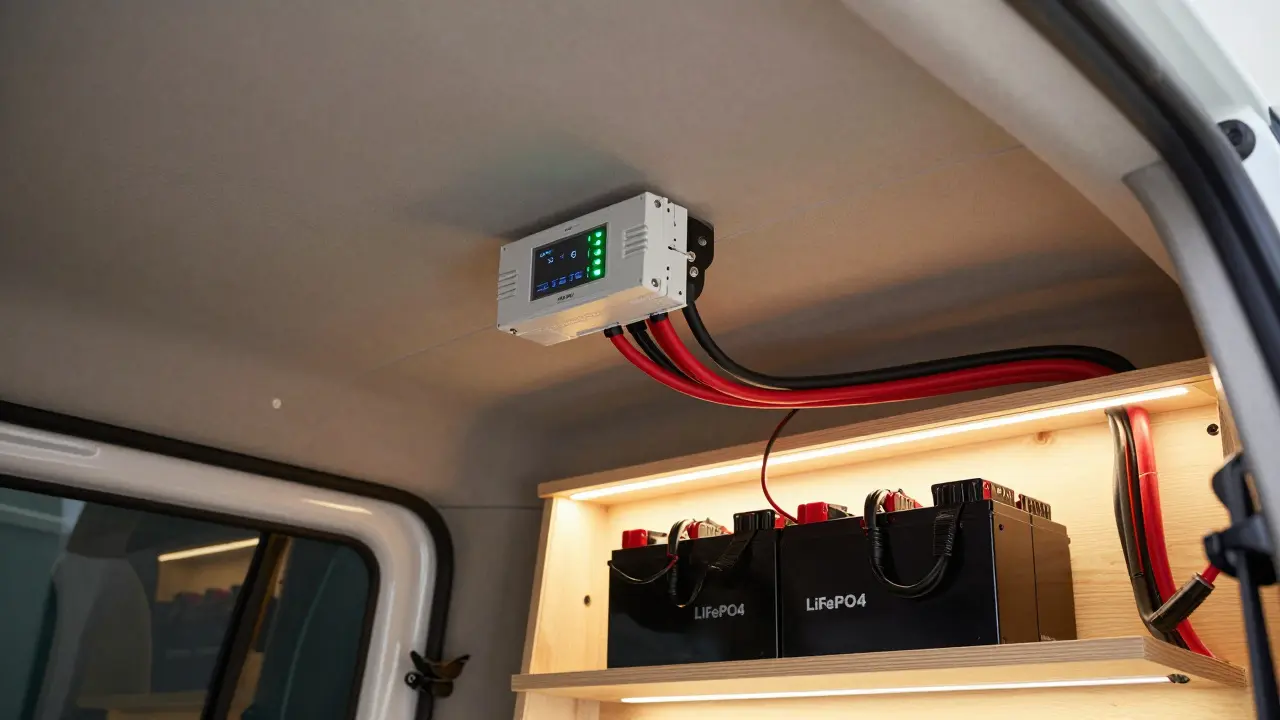
- Connect to the charge controller: Run the wires from the roof to your charge controller. Connect the positive wire from the panels to the PV+ terminal on the controller, and the negative wire to PV-. Do not connect the battery yet.
- Connect the battery: Connect the battery positive cable to the BAT+ terminal and the negative cable to BAT- on the controller. The controller should light up or display information, indicating it has recognized the battery voltage.
- Add fuses and breakers: Install an inline fuse or circuit breaker on the positive line from the panels to the controller, and another on the positive line from the controller to the battery. This protects against short circuits.
Use crimp connectors instead of twisting wires together. Twisted connections loosen over time due to vibration, leading to arcing and heat buildup. Crimped connections are solid and reliable.
Testing and Optimization
With everything connected, it’s time to test. Park your van in direct sunlight. Check your charge controller display. It should show that it is receiving power from the panels and charging the battery. Note the current (amps) and voltage (volts). Compare this to the expected output of your panels based on the manufacturer’s specifications.
If the numbers seem low, check for shading. Even a small shadow from a vent or antenna can significantly reduce output. Trim any vegetation or adjust panel placement if necessary. Also, inspect all connections for tightness. Loose connections cause resistance, which drops voltage and generates heat.
Monitor your system for the first few days. Keep an eye on battery voltage levels and ensure the controller switches between bulk, absorption, and float stages correctly. This ensures your batteries are charged efficiently and safely.
Maintenance Tips for Longevity
Your solar system doesn’t require much maintenance, but regular checks will keep it performing optimally. Clean the panels every few months, especially if you’re camping in dusty or pollen-heavy areas. Use a soft cloth and mild soap solution. Avoid abrasive materials that could scratch the surface.
Inspect the wiring and connections annually. Look for signs of corrosion, fraying, or loose terminals. Tighten any loose bolts and replace damaged wires immediately. Check the sealant around roof penetrations for cracks or gaps and reapply silicone if needed.
Finally, monitor your battery health. LiFePO4 batteries have built-in Battery Management Systems (BMS), but it’s still good practice to check their state of charge and temperature regularly. Extreme temperatures can affect battery performance, so consider insulating your battery box if you travel in very cold climates.
How many solar panels do I need for my van?
It depends on your daily power consumption and location. As a rule of thumb, 200-400 watts is sufficient for most van lifers who use efficient appliances. Calculate your watt-hour usage and divide by the average peak sun hours in your region (e.g., 3-4 hours in the UK) to determine the required panel wattage.
Can I install solar panels myself?
Yes, absolutely. Many van owners successfully install their own systems. It requires basic DIY skills, careful measurement, and attention to safety protocols, especially when handling electrical connections. Following a detailed guide and watching tutorial videos can help you gain confidence.
Do I need an inverter for my van solar system?
An inverter converts DC power from your batteries to AC power for household outlets. You only need one if you plan to use AC appliances like microwaves, kettles, or standard laptop chargers. If you use 12V DC appliances exclusively, you can save weight and cost by skipping the inverter.
What is the difference between MPPT and PWM charge controllers?
MPPT (Maximum Power Point Tracking) controllers are more efficient, especially in cooler or cloudy conditions, as they optimize the voltage from the panels to match the battery. PWM (Pulse Width Modulation) controllers are simpler and cheaper but less efficient, often wasting some potential power. For most van setups, MPPT is the better investment.
Are flexible solar panels worth it?
Flexible panels are lighter and conform to curved roofs, making them ideal for older vans with rounded tops. However, they are generally less efficient and durable than rigid monocrystalline panels. If your roof is flat or nearly flat, rigid panels mounted on rails offer better performance and longevity.