Your car starts fine on Tuesday. By Friday morning, it’s a brick. You jump-start it, drive to work, and by Monday, you’re staring at a dark dashboard again. This isn’t just bad luck; it’s a classic case of parasitic battery drain, which is an excessive electrical draw from a vehicle's battery while the engine is off. Unlike a dying alternator or an old battery that simply can’t hold a charge, a parasitic drain means something in your car is stealing power when it should be asleep.
Modern cars are rolling computers. Even when the key is out, systems like the alarm, infotainment memory, and keyless entry modules stay awake. A healthy car draws less than 50 milliamps (mA) during this sleep mode. If that number climbs above 80-100 mA, your battery will die within days. The good news? You don’t need a dealership to find the culprit. With a basic multimeter and some patience, you can trace the ghost draining your juice.
Understanding Normal vs. Abnormal Drain
Before you start pulling fuses, you need to know what “normal” looks like. Every vehicle has a baseline current draw for security systems, clock memory, and anti-theft modules. For most cars built after 2010, this idle draw sits between 20 and 50 mA. Older vehicles might be slightly higher, but rarely exceed 75 mA.
If your draw is 150 mA or higher, something is wrong. Common culprits include:
- Interior dome lights stuck on due to a faulty door switch.
- A glove box light bulb that doesn’t turn off when closed.
- An aftermarket stereo or dash cam wired incorrectly.
- A shorted module, such as a body control module (BCM) or radio amplifier.
The goal isn’t zero draw-that’s impossible. The goal is getting that number down to the manufacturer’s specified limit, usually found in your service manual. If you don’t have the manual, aim for under 50 mA.
Gathering Your Tools
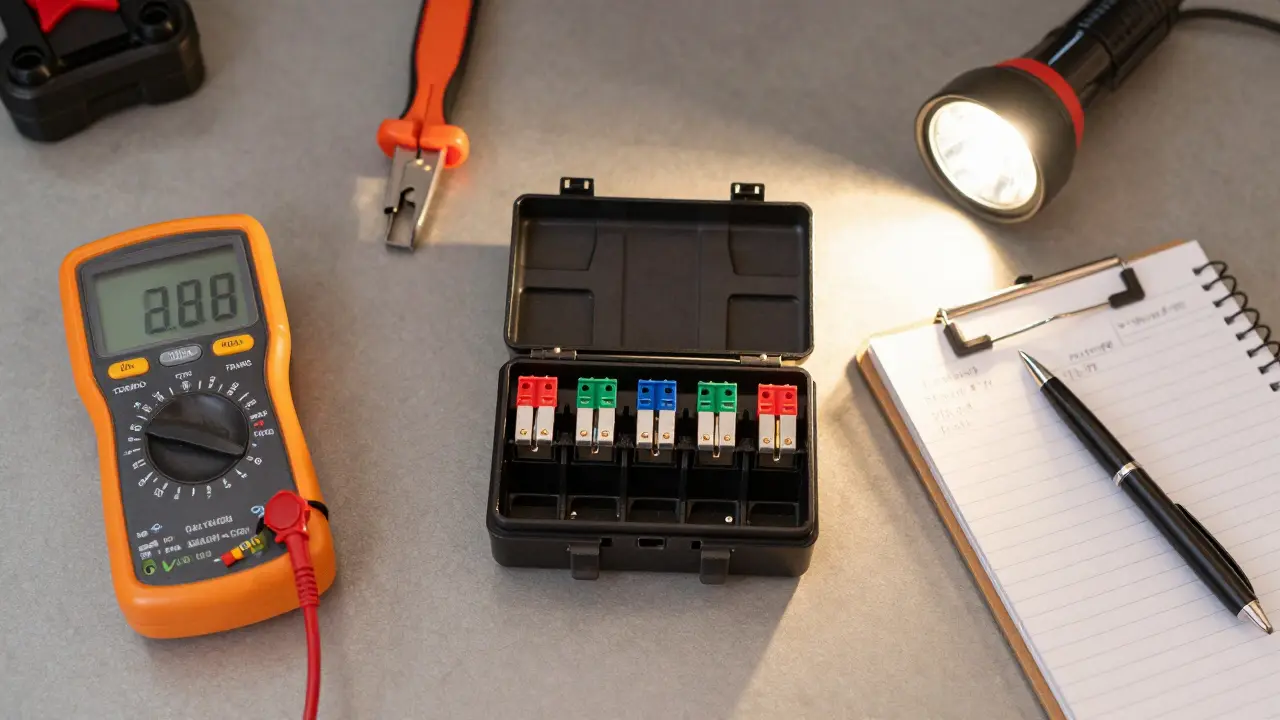
You don’t need expensive diagnostic scanners for this job. In fact, overcomplicating things with software tools often leads to confusion. Stick to the basics:
- Digital Multimeter: Make sure it can measure DC amps (A) and milliamps (mA). Cheap meters often struggle with low-current readings, so invest in one with auto-ranging capability if possible.
- Fuse Puller Tool: Or a pair of needle-nose pliers. You’ll be removing many fuses, and doing it cleanly prevents damage.
- Fuse Map: Locate your fuse boxes. Most cars have two: one under the hood (engine bay) and one inside the cabin (usually near the driver’s side kick panel or dashboard).
- Flashlight: Essential for checking hidden lights and reading small fuse numbers.
- Pen and Paper: To record your measurements. Memory fails; notes don’t.
Step 1: Prepare the Vehicle
Accuracy matters here. If you skip preparation steps, your readings will be skewed, leading you down the wrong path. Follow this sequence exactly:
- Park in a safe location: Ensure the car is on level ground and the parking brake is engaged.
- Turn everything off: Close all doors, the trunk, and the hood. Lock the car using the key fob or door handle. Wait at least 15 minutes. Modern cars enter "sleep mode" only after a delay to ensure no passengers are still inside. Rushing this step is the #1 mistake beginners make.
- Disconnect the negative terminal: Use a wrench to loosen the nut on the negative (-) battery cable. Remove the cable completely and tuck it away so it cannot accidentally touch the battery post.
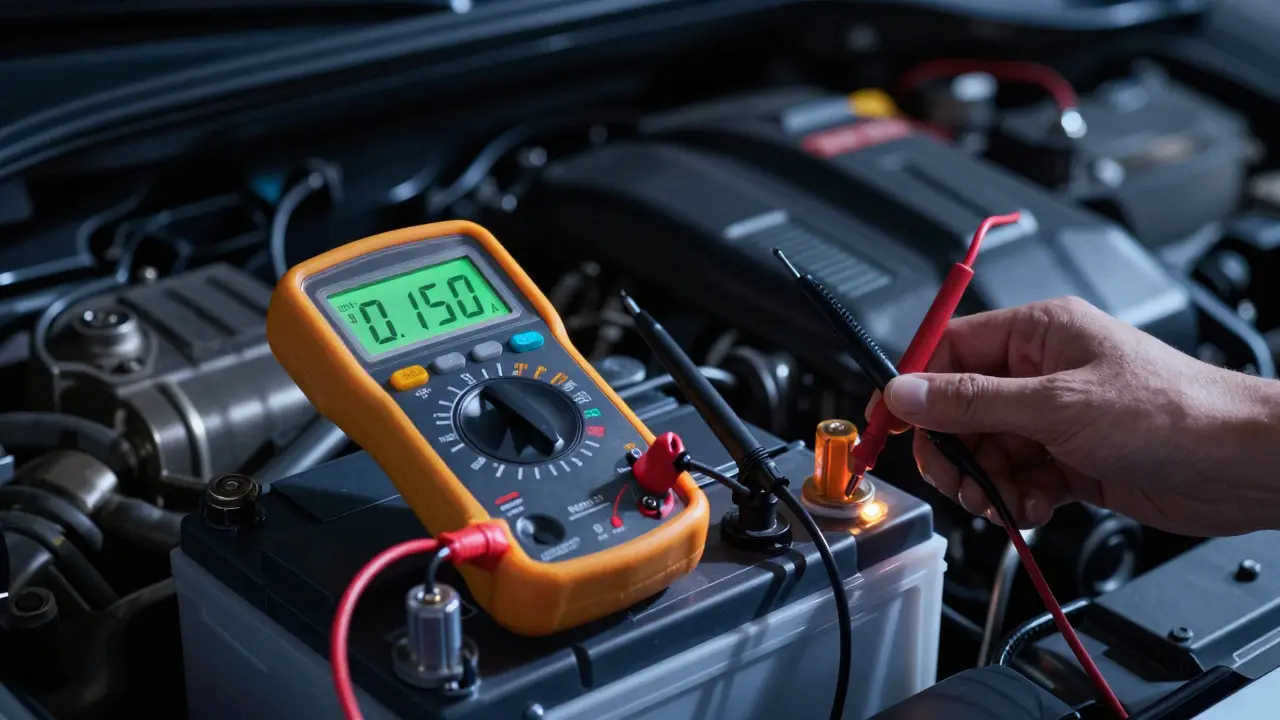
Step 2: Connect the Multimeter
This is where we intercept the flow of electricity. We aren’t measuring voltage; we are measuring current. To do this, the multimeter must become part of the circuit.
- Set your multimeter: Turn the dial to DC Amperes (A). If your meter has a separate port for high currents (usually labeled 10A or 20A), move the red probe there. However, since we expect low milliamp readings, keep the red probe in the standard V/Ω/mA port if your meter supports it. Check your manual.
- Connect the black probe: Attach the black (common) lead to the negative battery post.
- Connect the red probe: Touch the red lead to the disconnected negative battery cable clamp.
Read the display. It should show a value in Amps (A) or Milliamps (mA). If it reads in Amps, multiply by 1,000 to get mA. For example, 0.045 A equals 45 mA.
| Reading (mA) | Status | Action Required |
|---|---|---|
| 0 - 50 mA | Normal | No issue. Check battery health instead. |
| 50 - 100 mA | Marginal | Monitor. May cause issues in cold weather. |
| 100+ mA | Abnormal | Proceed to fuse isolation immediately. |
Step 3: Isolate the Circuit
If your reading is above 100 mA, it’s time to play detective. The strategy is simple: remove fuses one by one until the current drops to normal levels. The last fuse you removed is connected to the guilty circuit.
- Start with the interior fuse box: These fuses typically control accessories, lights, and infotainment-common sources of drains.
- Remove one fuse: Watch the multimeter closely. Does the number drop significantly?
- If yes: You’ve found the circuit. Note the fuse number and its function (e.g., "Radio," "Dome Light," "Aux Power"). Reinstall the fuse and proceed to Step 4.
- If no: Reinstall the fuse and try the next one. Work systematically to avoid skipping any.
- Move to the engine bay fuse box: If the interior box yields nothing, check the under-hood fuses. These control modules like the fuel pump relay, ABS, or ECU.
Pro Tip: Some circuits are protected by fusible links or main relays rather than standard blade fuses. If removing all fuses doesn’t lower the draw, check for large-gauge wires with inline fuses near the battery.
Step 4: Identify the Specific Component
Knowing the circuit is half the battle. Now you need to find the specific component causing the leak. Let’s say the "Radio" fuse caused the drop. Here’s how to narrow it down:
- Visual Inspection: Look for obvious signs. Is the aftermarket stereo glowing? Is a USB charger plugged in? Unplug all accessories first.
- Check for Stuck Relays: Listen for clicking sounds. A relay that sticks closed can send constant power to a component. Tap the relay gently with a screwdriver handle; if the sound changes or the drain stops, replace the relay.
- Trace the Wiring: Use a wiring diagram (available online for most models) to see what else shares that fuse. Often, a single fuse protects multiple components.
- Isolate Components: Disconnect connectors for devices on that circuit one by one while watching the multimeter. When the draw drops, you’ve found the faulty part.

Common Culprits and Quick Fixes
While every car is unique, certain problems appear repeatedly across brands. Knowing these can save hours of tracing wires.
- Aftermarket Electronics: Dash cams, GPS trackers, and custom stereos are frequent offenders. Many users wire them directly to the battery without a switched ignition source. Ensure they have a proper "ACC" (accessory) wire that cuts power when the car is off.
- Door Switches: If the car thinks a door is open, the interior lights may stay on. Check each door switch by closing the door firmly and listening for the click. Test with a multimeter for continuity.
- Glove Box and Trunk Lights: The microswitch under the latch can wear out. Press the switch manually to see if the light turns off.
- Body Control Module (BCM):** In modern cars, a failing BCM can fail to sleep. This usually requires professional reprogramming or replacement.
- Alternator Diodes: Rarely, a bad diode in the alternator can leak AC current into the battery at night. This feels like a drain but is actually a charging system fault. A voltmeter across the battery terminals while off may show fluctuating voltage if this is the case.
When to Call a Professional
Sometimes, the problem lies beyond DIY reach. Consider seeking help if:
- You’ve checked all fuses and the drain persists.
- The wiring harness shows signs of rodent damage or corrosion.
- The issue involves the Engine Control Unit (ECU) or Transmission Control Module (TCM), which require specialized scan tools to reset sleep modes.
- You’re uncomfortable working with live electrical circuits.
A qualified automotive electrician can use a thermal camera to spot overheating wires or a current tracer to follow the exact path of the drain. While it costs more, it saves time and prevents accidental shorts.
Preventing Future Drains
Once fixed, take steps to keep the problem away:
- Test new accessories: Before permanently installing any aftermarket device, monitor the parasitic draw for 24 hours.
- Keep firmware updated: Software glitches in modern modules can prevent sleep modes. Check with your dealer for recalls or updates.
- Disconnect for long storage: If parking the car for more than two weeks, disconnect the negative terminal or use a battery maintainer.
- Regular checks: Once a year, perform a quick 15-minute test to ensure your draw remains under 50 mA.
Finding a parasitic drain is less about complex theory and more about methodical elimination. Stay patient, trust your multimeter, and always double-check your connections. Your battery-and your peace of mind-will thank you.
How much parasitic drain is too much?
For most modern vehicles, anything above 50 milliamps (mA) is considered excessive. Draws between 50-100 mA may be tolerable in warm weather but will likely kill the battery in cold conditions. Anything over 100 mA indicates a definite problem that needs investigation.
Can I use a cheap multimeter for this test?
You can, but accuracy varies. Cheap meters often have poor resolution at low current levels, making it hard to distinguish between 40 mA and 60 mA. An auto-ranging digital multimeter from a reputable brand provides better precision for these low-level measurements.
Why does my car battery die only in winter?
Cold temperatures reduce a battery's chemical efficiency and cranking power. A marginal parasitic drain that might sustain a battery in summer can exhaust it quickly in winter because the battery holds less total charge and requires more energy to start the engine.
Should I disconnect the positive or negative terminal?
Always disconnect the negative (black) terminal first. This minimizes the risk of creating a short circuit if your wrench accidentally touches the metal chassis while loosening the bolt. The chassis is grounded to the negative side, so connecting/disconnecting there is safer.
What if removing all fuses doesn't stop the drain?
If the drain persists after removing all fuses, the issue may lie in a fusible link, a direct wire connection, or a component not protected by a standard fuse. It could also indicate a problem with the alternator's diodes leaking current back into the battery. At this stage, professional diagnosis is recommended.